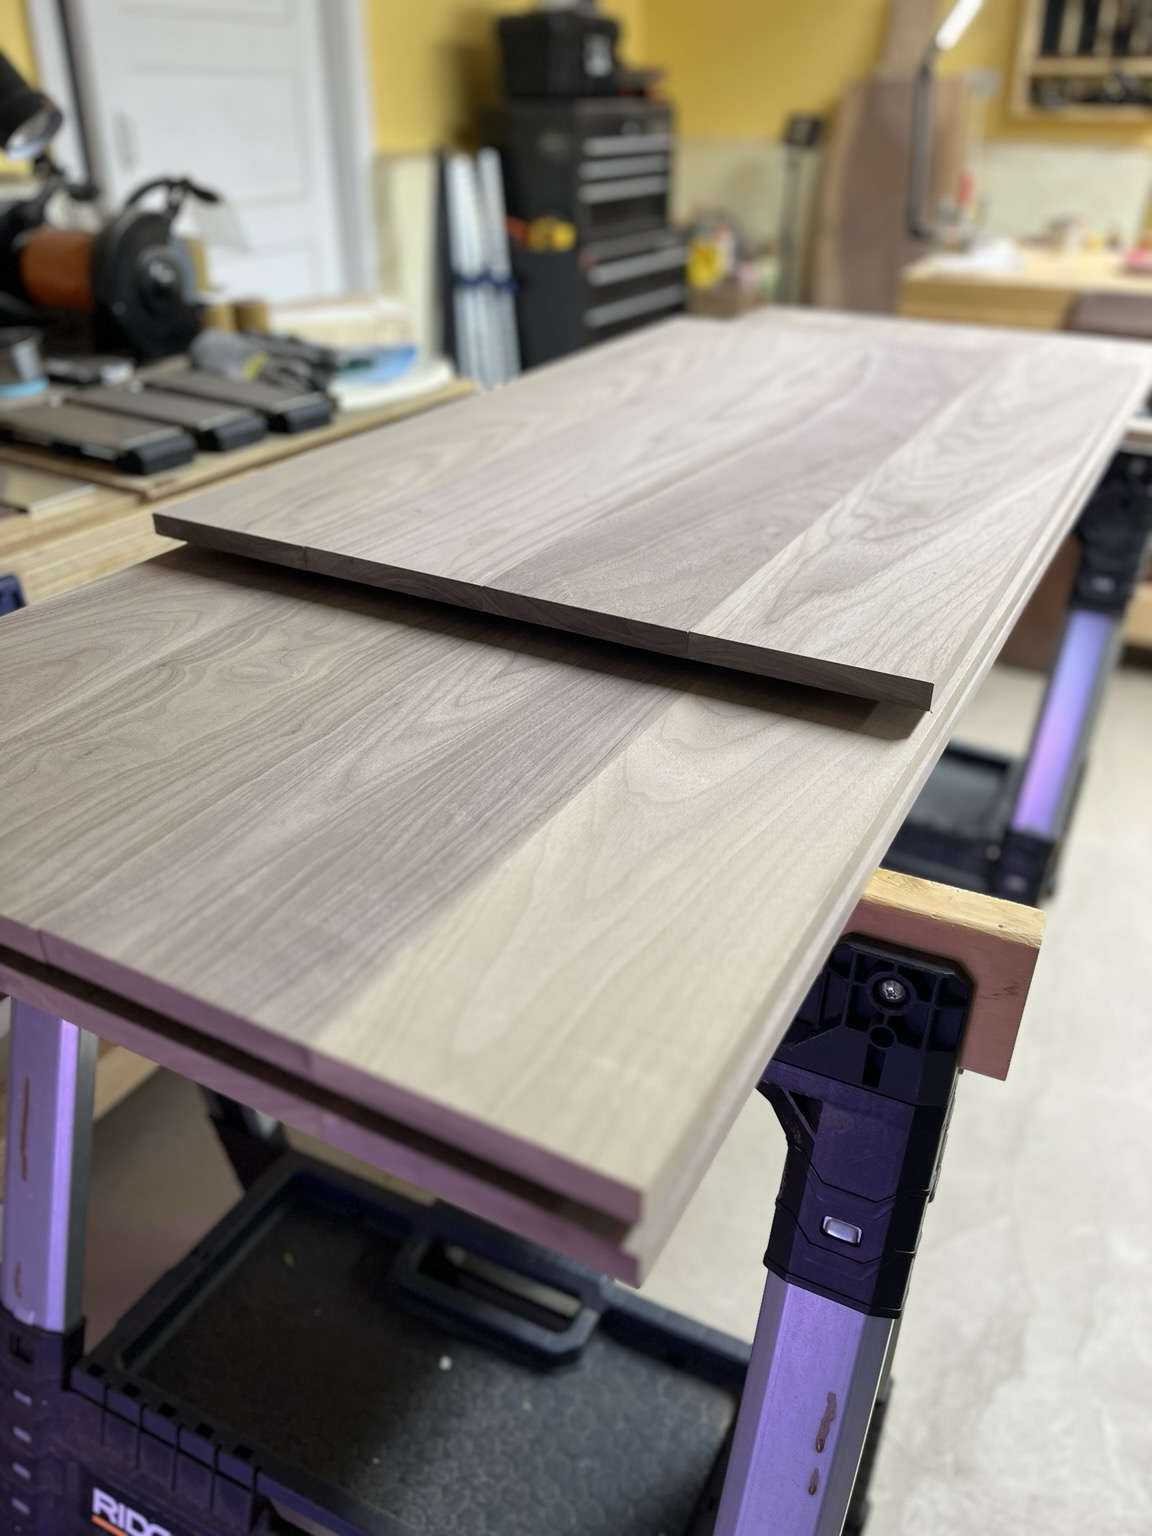
Hello #woodworking friends!
-
Goodbye loud machines and hello to the zen state of hand plans.
It’s edge jointing day! Probably the first of many. I haven’t jointed by hand in over a year so kind of proud to see I still got it.
I was going to joint and glue-up each panel section one-by-one but I think I might do all the boards first and then have one big glue-up. Maybe that will cut down on warping if panels are sitting around for a long time?
Either way, I’m very slow. It’ll be a miracle if I finish this in 2026.
Pictured is the bottom panel of the carcas which is all I was able to get done today.
-
Hopefully this will be the last photo of “stacked wood” but the significance of this one is that I finally finished dimensioning and jointing all the case boards.

I’ve logged about 25 hours this week so that’s about 1.5 hrs per board. These fuckers are straight and true though.
Aiming for a glue-up this weekend.
-
That’s a wrap for this week. Work is starting back up tomorrow so things will be much slower now.
My goal was to get the case sections ready for joinery. I’m close. I have one more panel that needs final flattening otherwise I’m calling the week a #woodworking success (not without a lot of aches and pains along the way though
 ).
-
A little more progress with marking out joinery and starting to cut dovetails. I decided on tails facing up and corners mitered.
But it’s single digits in Chicago today so everything is stinking cold. I only managed to cut one set of tails before I retreated to a warmer upstairs.
-
I had to put this project on pause to refinish a chair over the last few weekends but I'm back chipping away at it.
Something that's been worrying me since drawing out the plans was how I was going to transfer the tails to the pin board because the case pieces are so big.
It took a little ingenuity but problem solved. This workbench is the gift that keeps on giving.
-
One measurement, cut, and chop at a time. It all adds up. I’m finally getting close to assembling the case.
I need help from the #woodworking hivemind though…
How would you clamp something this size? Even my longest bar clamp won’t reach on the long ends.

-
I've got those Bessey clamps running on a water pipe.
To make them longer all I have to do is to add a connector to the threaded end of the pipe and screw on it another piece of pipe.
-
@GustavinoBevilacqua @jamigibbs
Agree - pipe clamps are awesome.
Pipes are not too expensive and you can get more to mix and match and extend as needed. Very flexible, economical option.
-
It's been four months since my last update on this build. So sorry! Most of the work halted for some personal reasons but even if it's very slowly being worked on, it's still going forward.
I survived glue-up but didn't take any photos of that. Too damn big. Too damn stressful so here is the case united after clamps and cleanup.
-
And after the case was assembled, I realized that I couldn't move it very easily so I had to stop and build a cart to get it on and off my bench. This ugly thing is a blessing! I can just zip it on and off my bench and move it around without any effort.
-
I've also made the structural divider shelf that will demarcate the single large drawer at the bottom of the cabinet with the top doors. I'm installing it with just some simple dados. I can't be bothered to do any other fancy joinery.
-
I have a choice of what I'm going to work on next:
1. Top doors: there will be two that swing out and it will open to show shelving inside
2. Back panels: this will be cedar and I can use my super fun Lie-Nielsen tongue and groove plane
3. Bottom drawer: one large storage drawer. More walnut. I have to figure out heavy duty slides.I kind of want to play with the t&g plane but I found this 12"+ walnut some time ago and it will be perfect for the drawer face. So I might just get started on that next.
-
There is only one way to eat an elephant: a bite at a time.
My elephant progress continues. I installed the drawer divider into the case and it all lined up as well as I could have hoped.
-
Before that, I had an accident with the case falling and it smashed one corner pretty terribly. A very silly and careless accident.
I had to spend some extra time taking off a 1/4" from all around the front edge to get it out. That sucked but I had just enough room next to the first dovetail to get it out and the miters look cleaner now.
-
Onto the drawer! The front face is going to be the large walnut board I mentioned last week and rummaging through my wood stock, I have a bunch of 6/4 cherry that has been sitting for a few years now. I'm going to use that for the sides.
I didn't have enough for the back though and since nobody is going to see that (plus the drawer is getting to be mighty heavy with walnut + cherry), I pulled out an equally old 7/4 poplar board.
I felt bad wasting it since the final thickness will probably just be 1/2" so I resawed a 35" section which was a MASSIVE PITA. I did it but don't think I'll do that again. ugh.
Rough cuts are done and next weekend I'll try and bring them into the garage to thickness.
-
Drawer pieces are now thicknessed and Blum slides arrived but now I'm a little worried about how to assemble the drawer with my design.
I want half-blind dovetails set into the visible face panel; not a false drawer front. And it should fit flush inside the case with just a very small gap around. But now that I'm looking at these slides, I feel like it's going to need a much larger gap at the bottom than I expected.
I've never done this before and I can't afford any more time or money messing up the drawer so, I'm constructing a practice box and drawer (sigh). I probably just need to leave space below the first dovetail but how much space? Soon I'll know.