My 3d-printed morse key didn't allow me to adjust the throw of the paddle, and I had to move my hand way too far when sending.
-
-
@jhoward I might actually finish it and post it with a few more changes.
- Different print-in-place hinge design (needs more iteration)
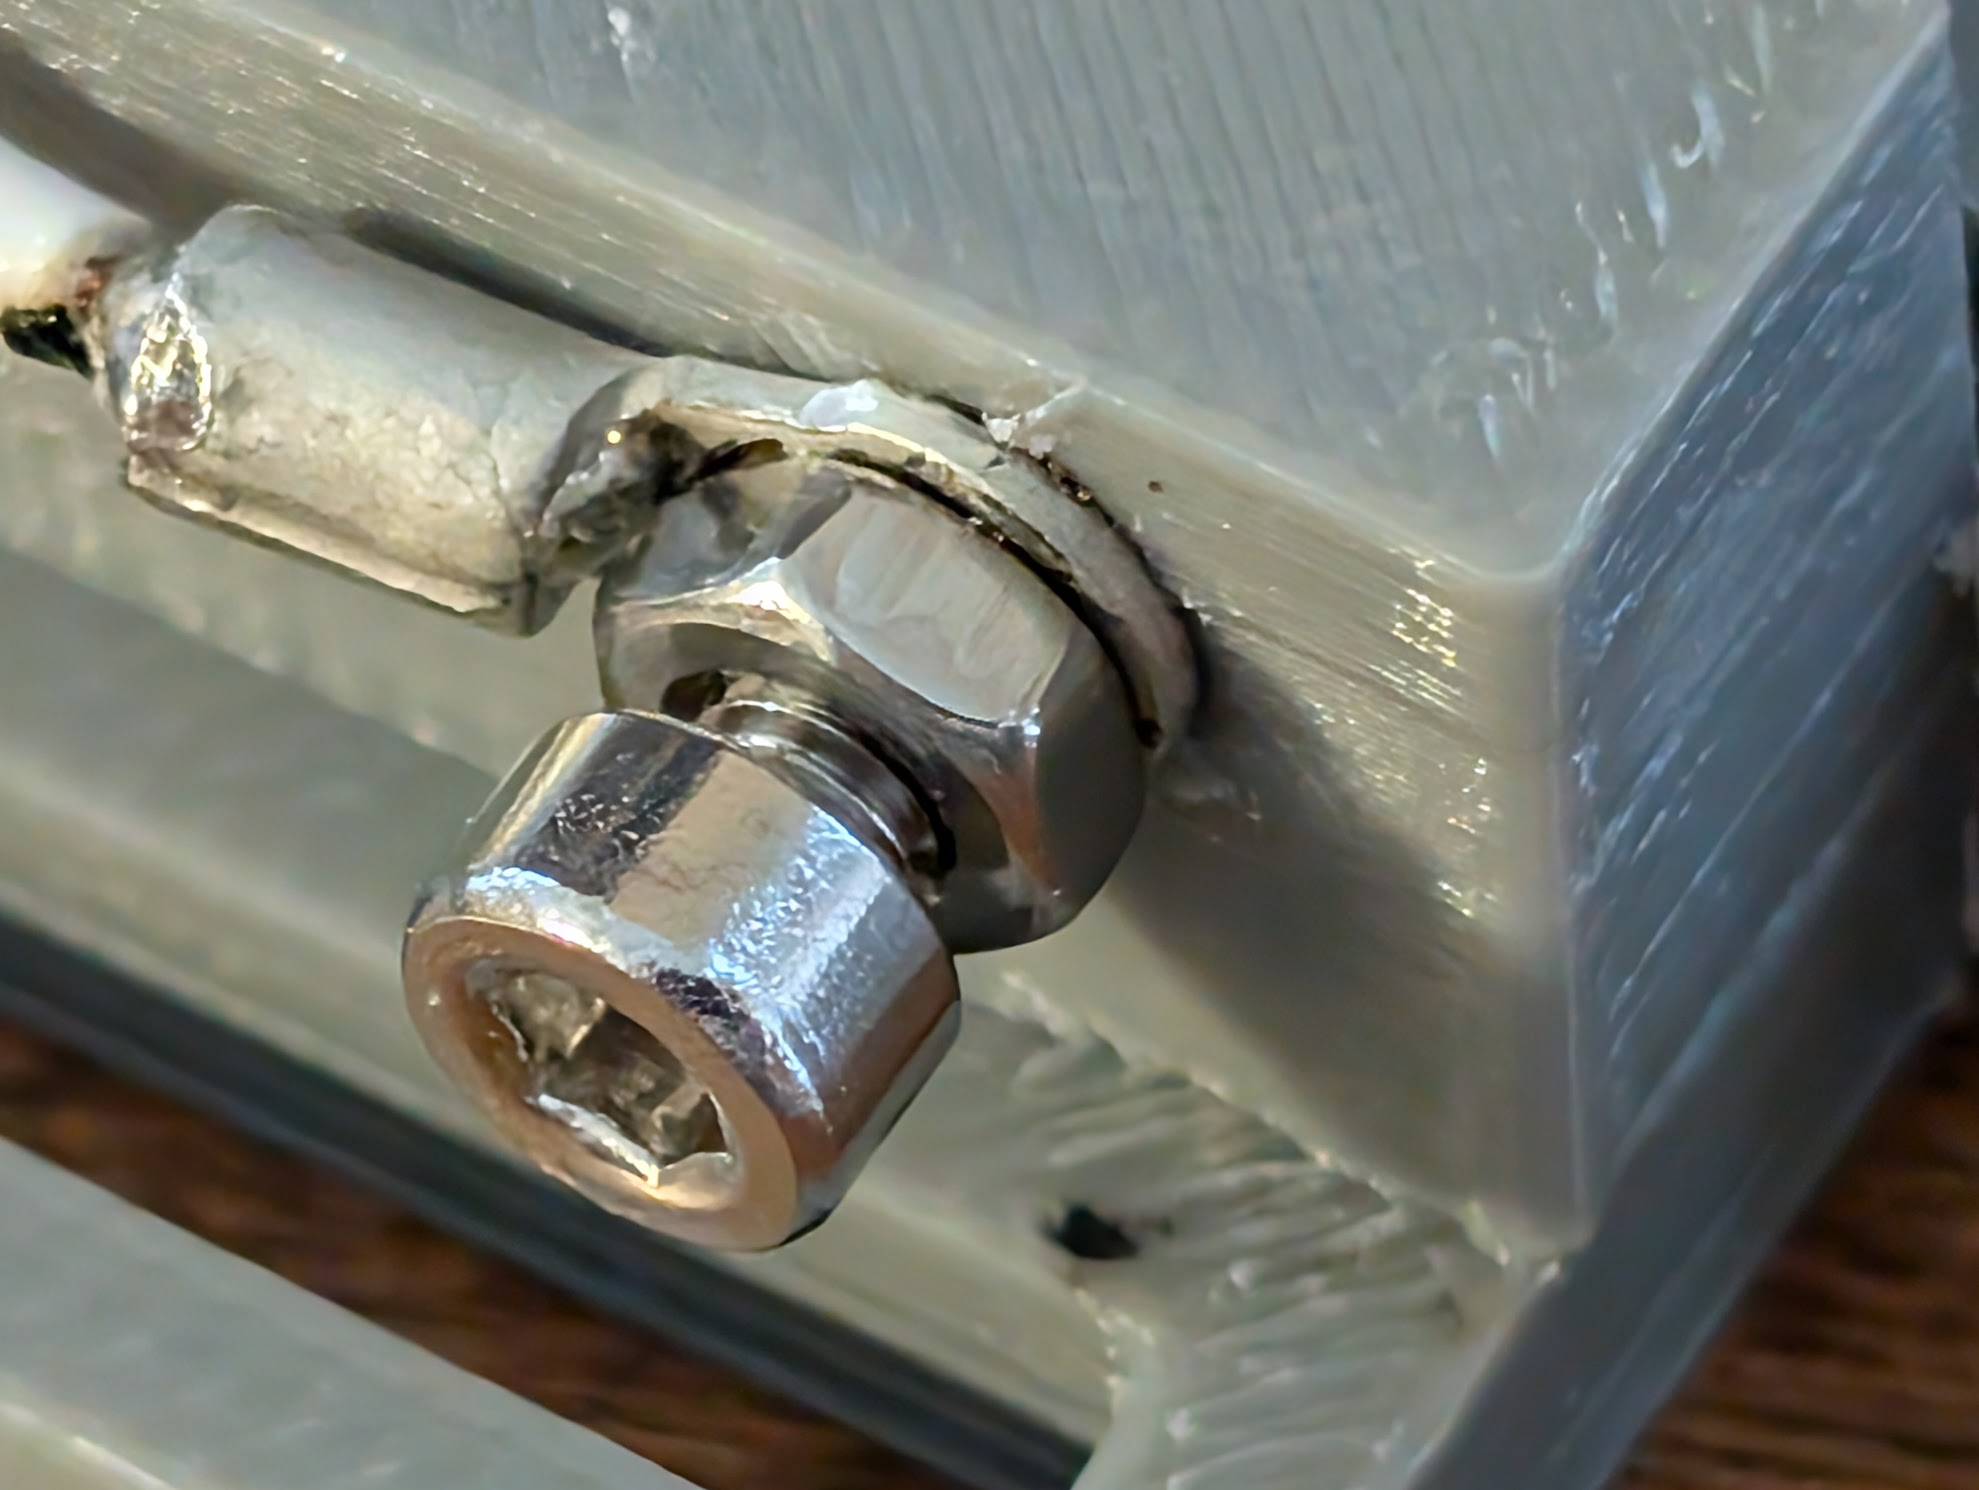
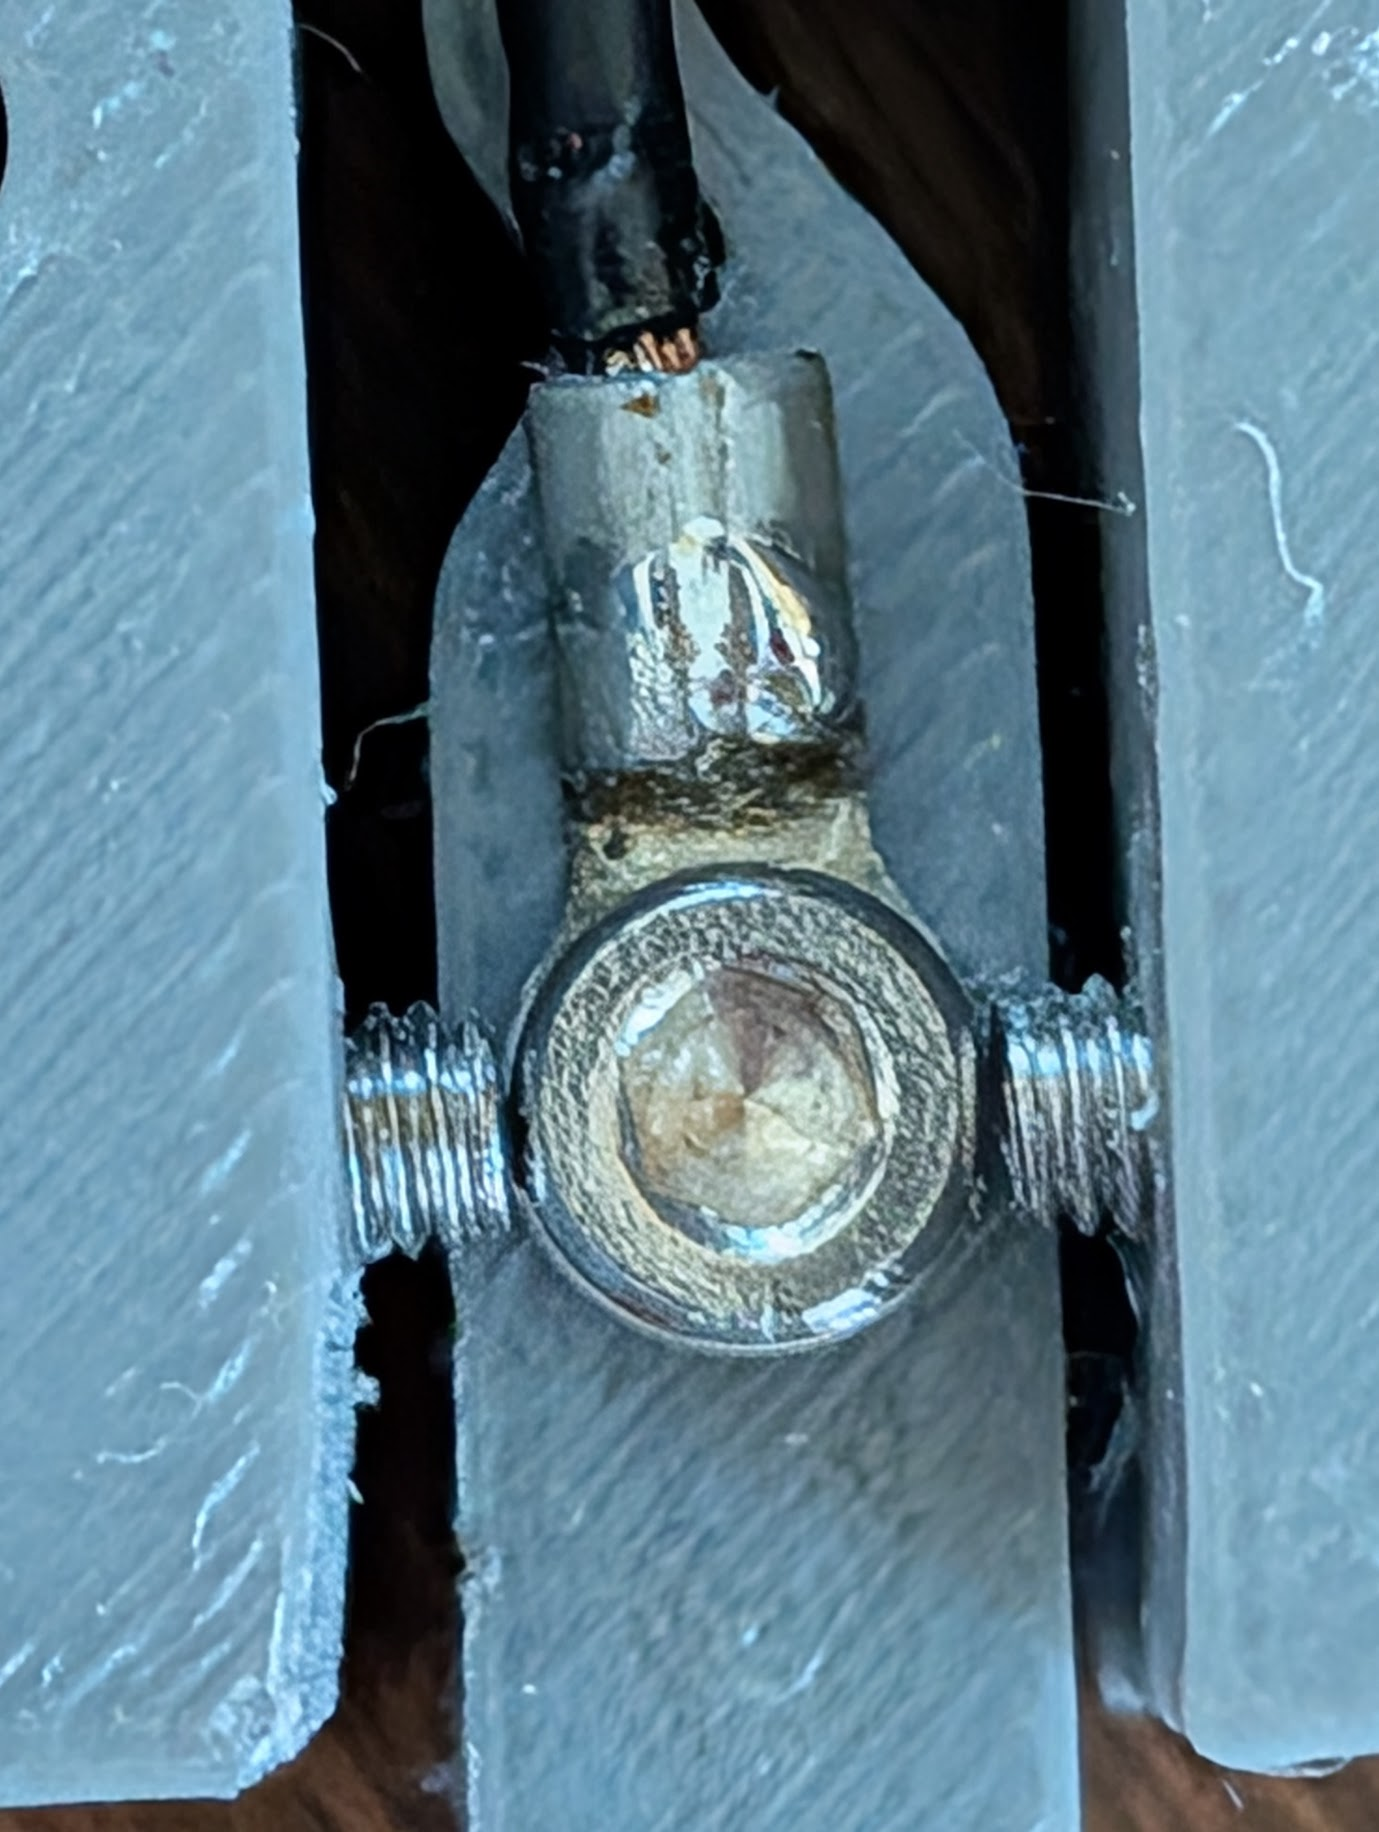
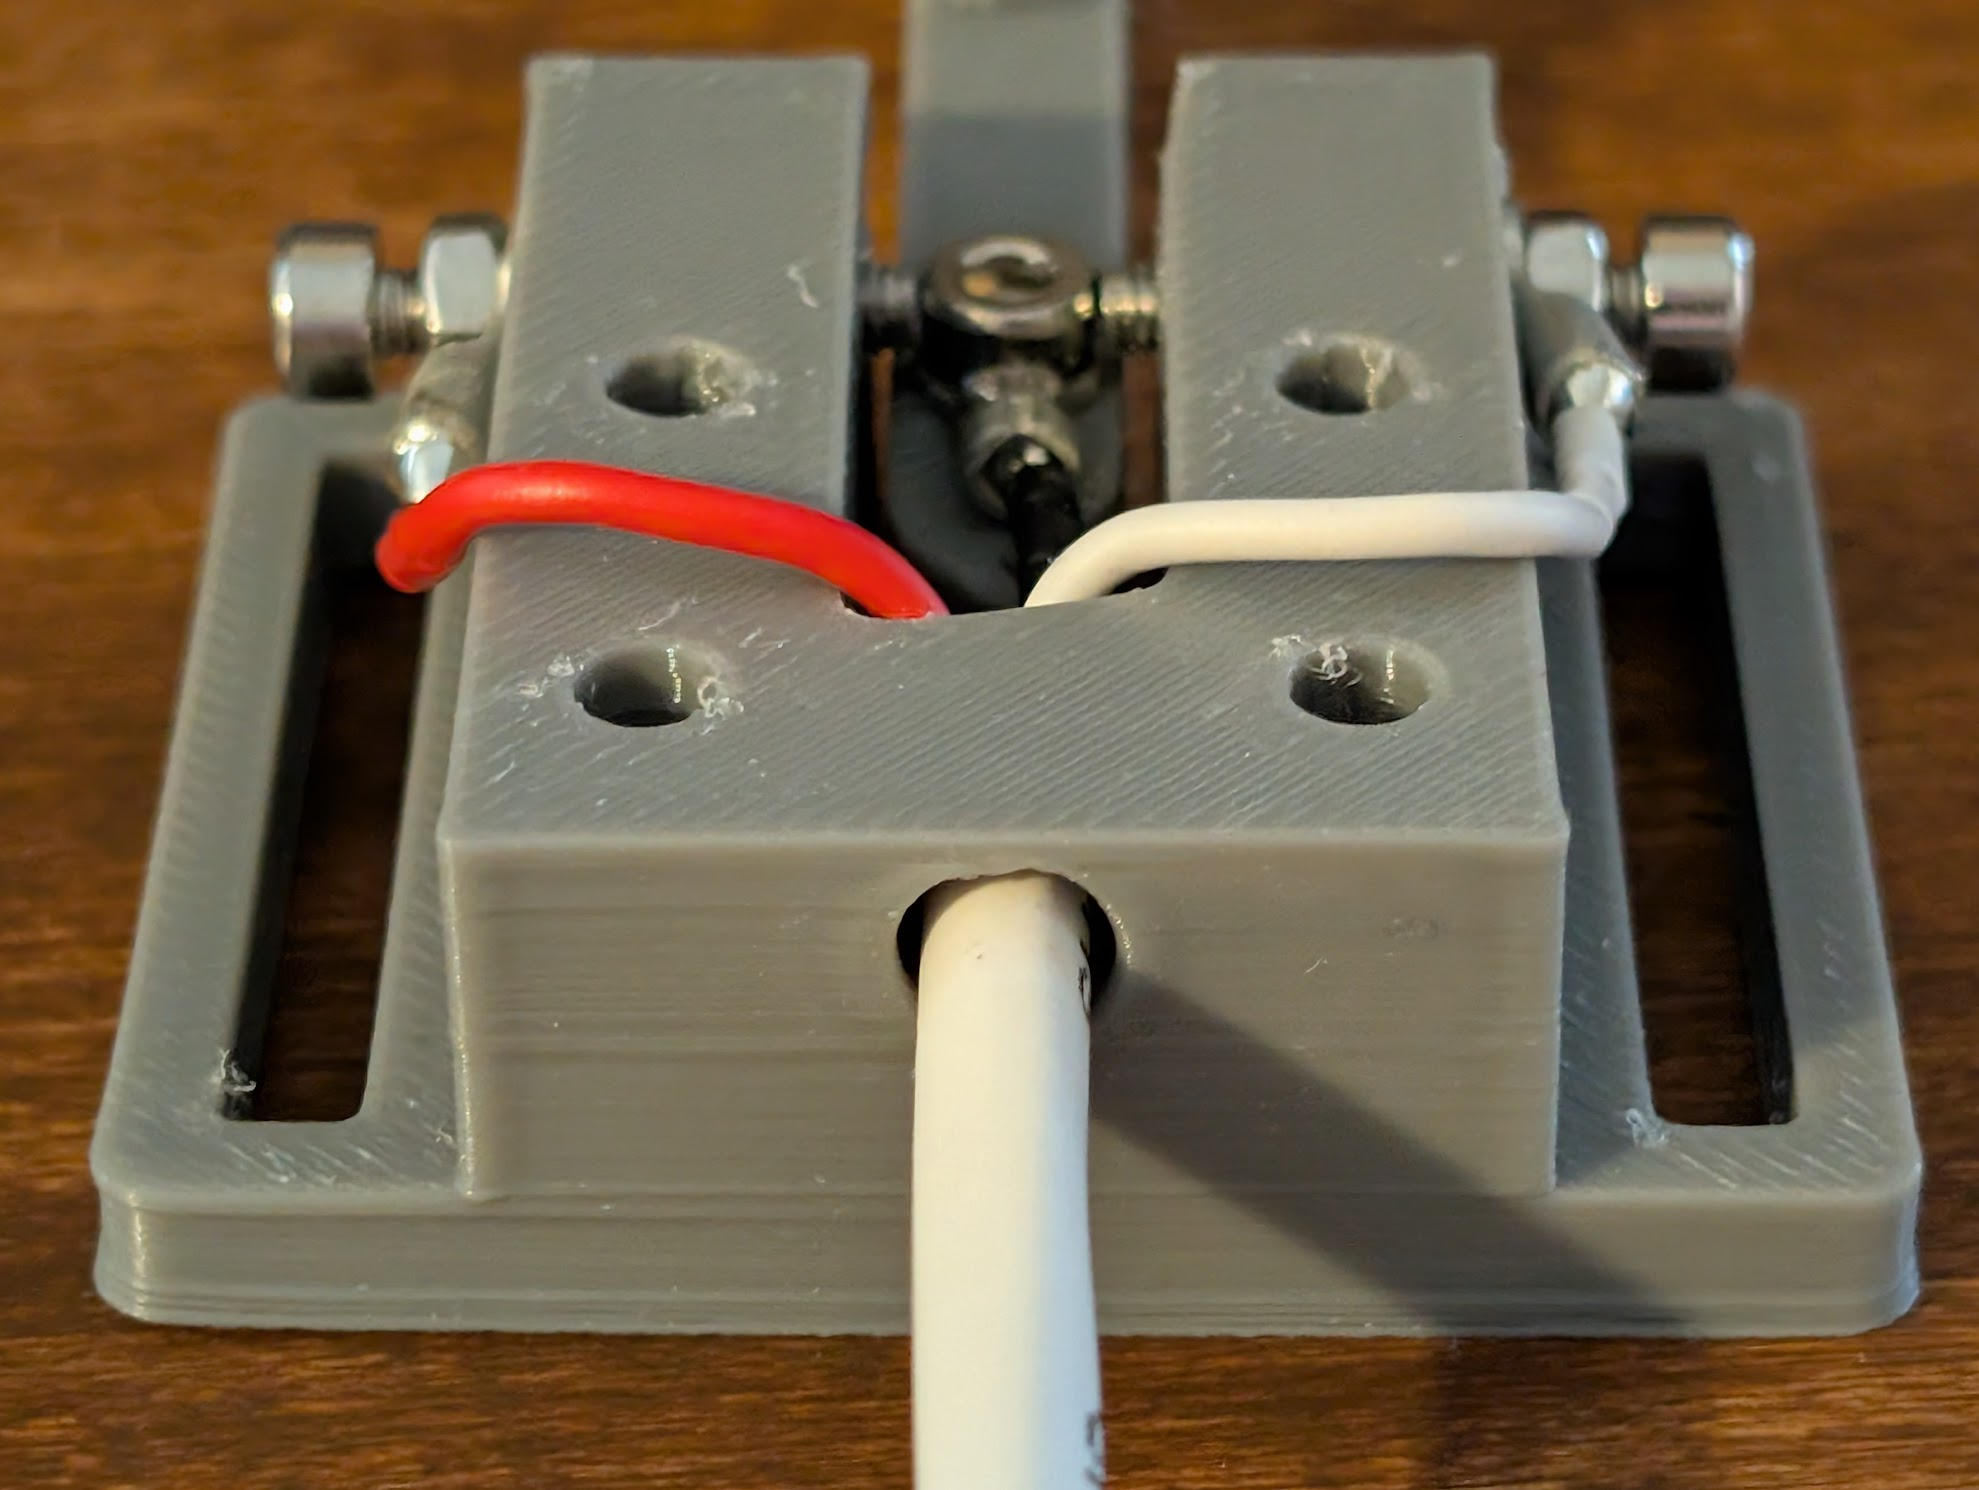
- Holes for routing the dit/dah wires (white and red in the pictures)
- Optional cover
- Optional baseplate to lift the key off the surface it is on
- Slightly longer slot length to accommodate a wider variety of belts
- A few more fillets and/or chamfers
- Maybe an optional block jig to help sand the ends of the dit/dah screws flat
If I did that, would you (or anyone else here) print it?
I did start my new design strongly influenced by an "ND" design, but that doesn't prevent me from posting a new and somewhat different model, as far as I can tell. I'd also share the FreeCAD model so that others could make their own changes, and I would use a permissive license for it.
-
@mcdanlj
Sure, I'd print it. Sadly I don't have much time for radio these days, and my code is rusty (and that's being generous), so I'm not sure I'd get much use. But printing it is the easy part (how weird we live in a time where I can make that statement).Seems like this would be a good piece to electroplate. As cool as it looks, it might look even cooler with a smooth nickel plating. :-)
-
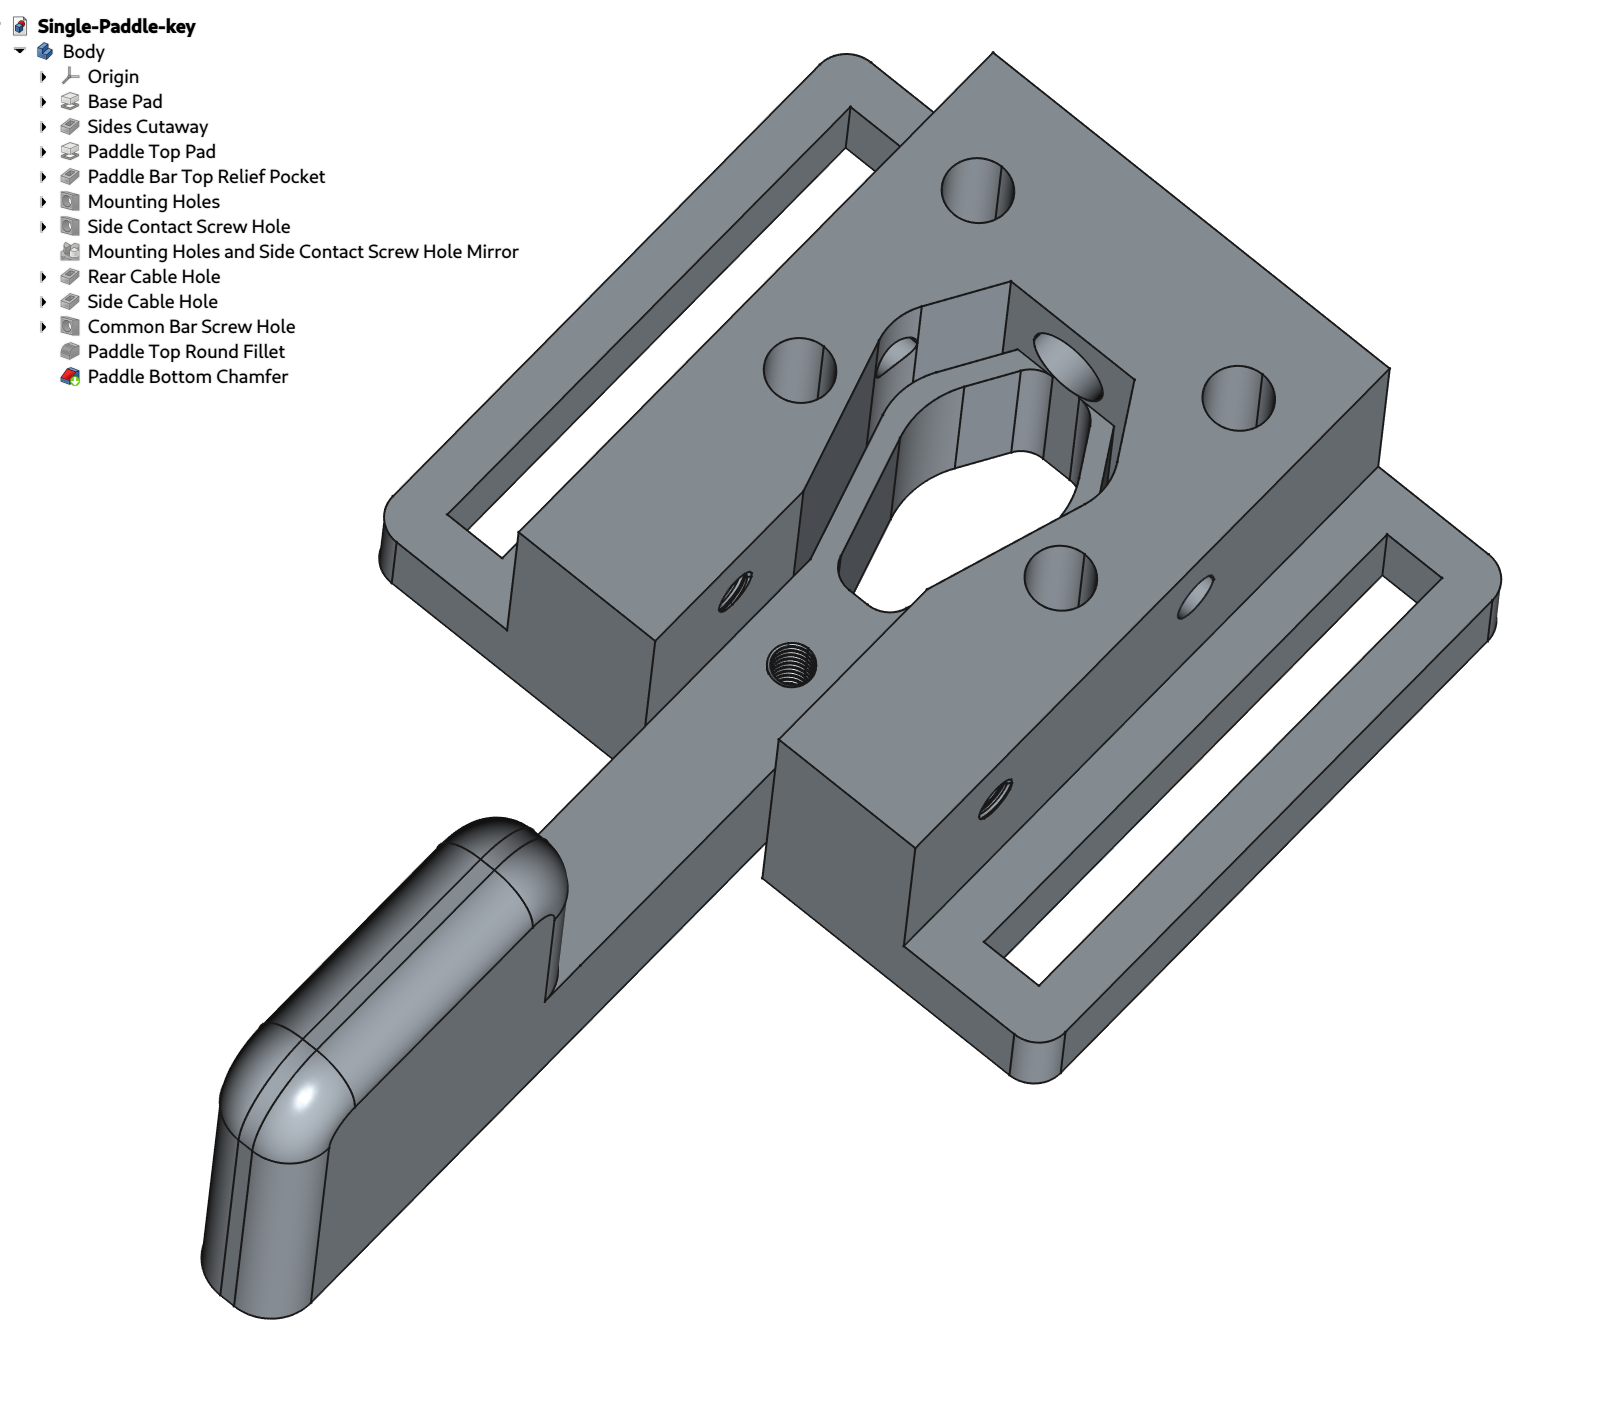
@jhoward Here's where I got so far with modeling a similar key based on the approximate dimensions of the model I started with. I set it up with approximately the same mounting holes (what existing thing uses 15mm x 19mm hole spacing that this is set up for?), but with a very different spring mechanism, fillets, chamfers, and cable routing holes.
My hope is that this spring hinge design will self-damp better; the key I printed had such a strong spring action that it could spring all the way across and hit the other contact. I plan to iterate on this design, probably tweaking the spring design until it feels good.
I think that the cable routing holes are a bit big. Mine has a huge cable routing hole because I grabbed a thick wire, but really this should use cheap earbud wires (like they hand out on planes) instead. Much more convenient!
Haven't yet looked at cover, baseplate, sanding jig, or longer slots yet from my punch list, and I suspect that I could add even more fillets.
I might have to make the spring hinge a bit parametric, because I expect that the right wall thickness will depend on the type of plastic you use. Probably want thicker walls with PETG than ABS; I'll be printing ABS.
-
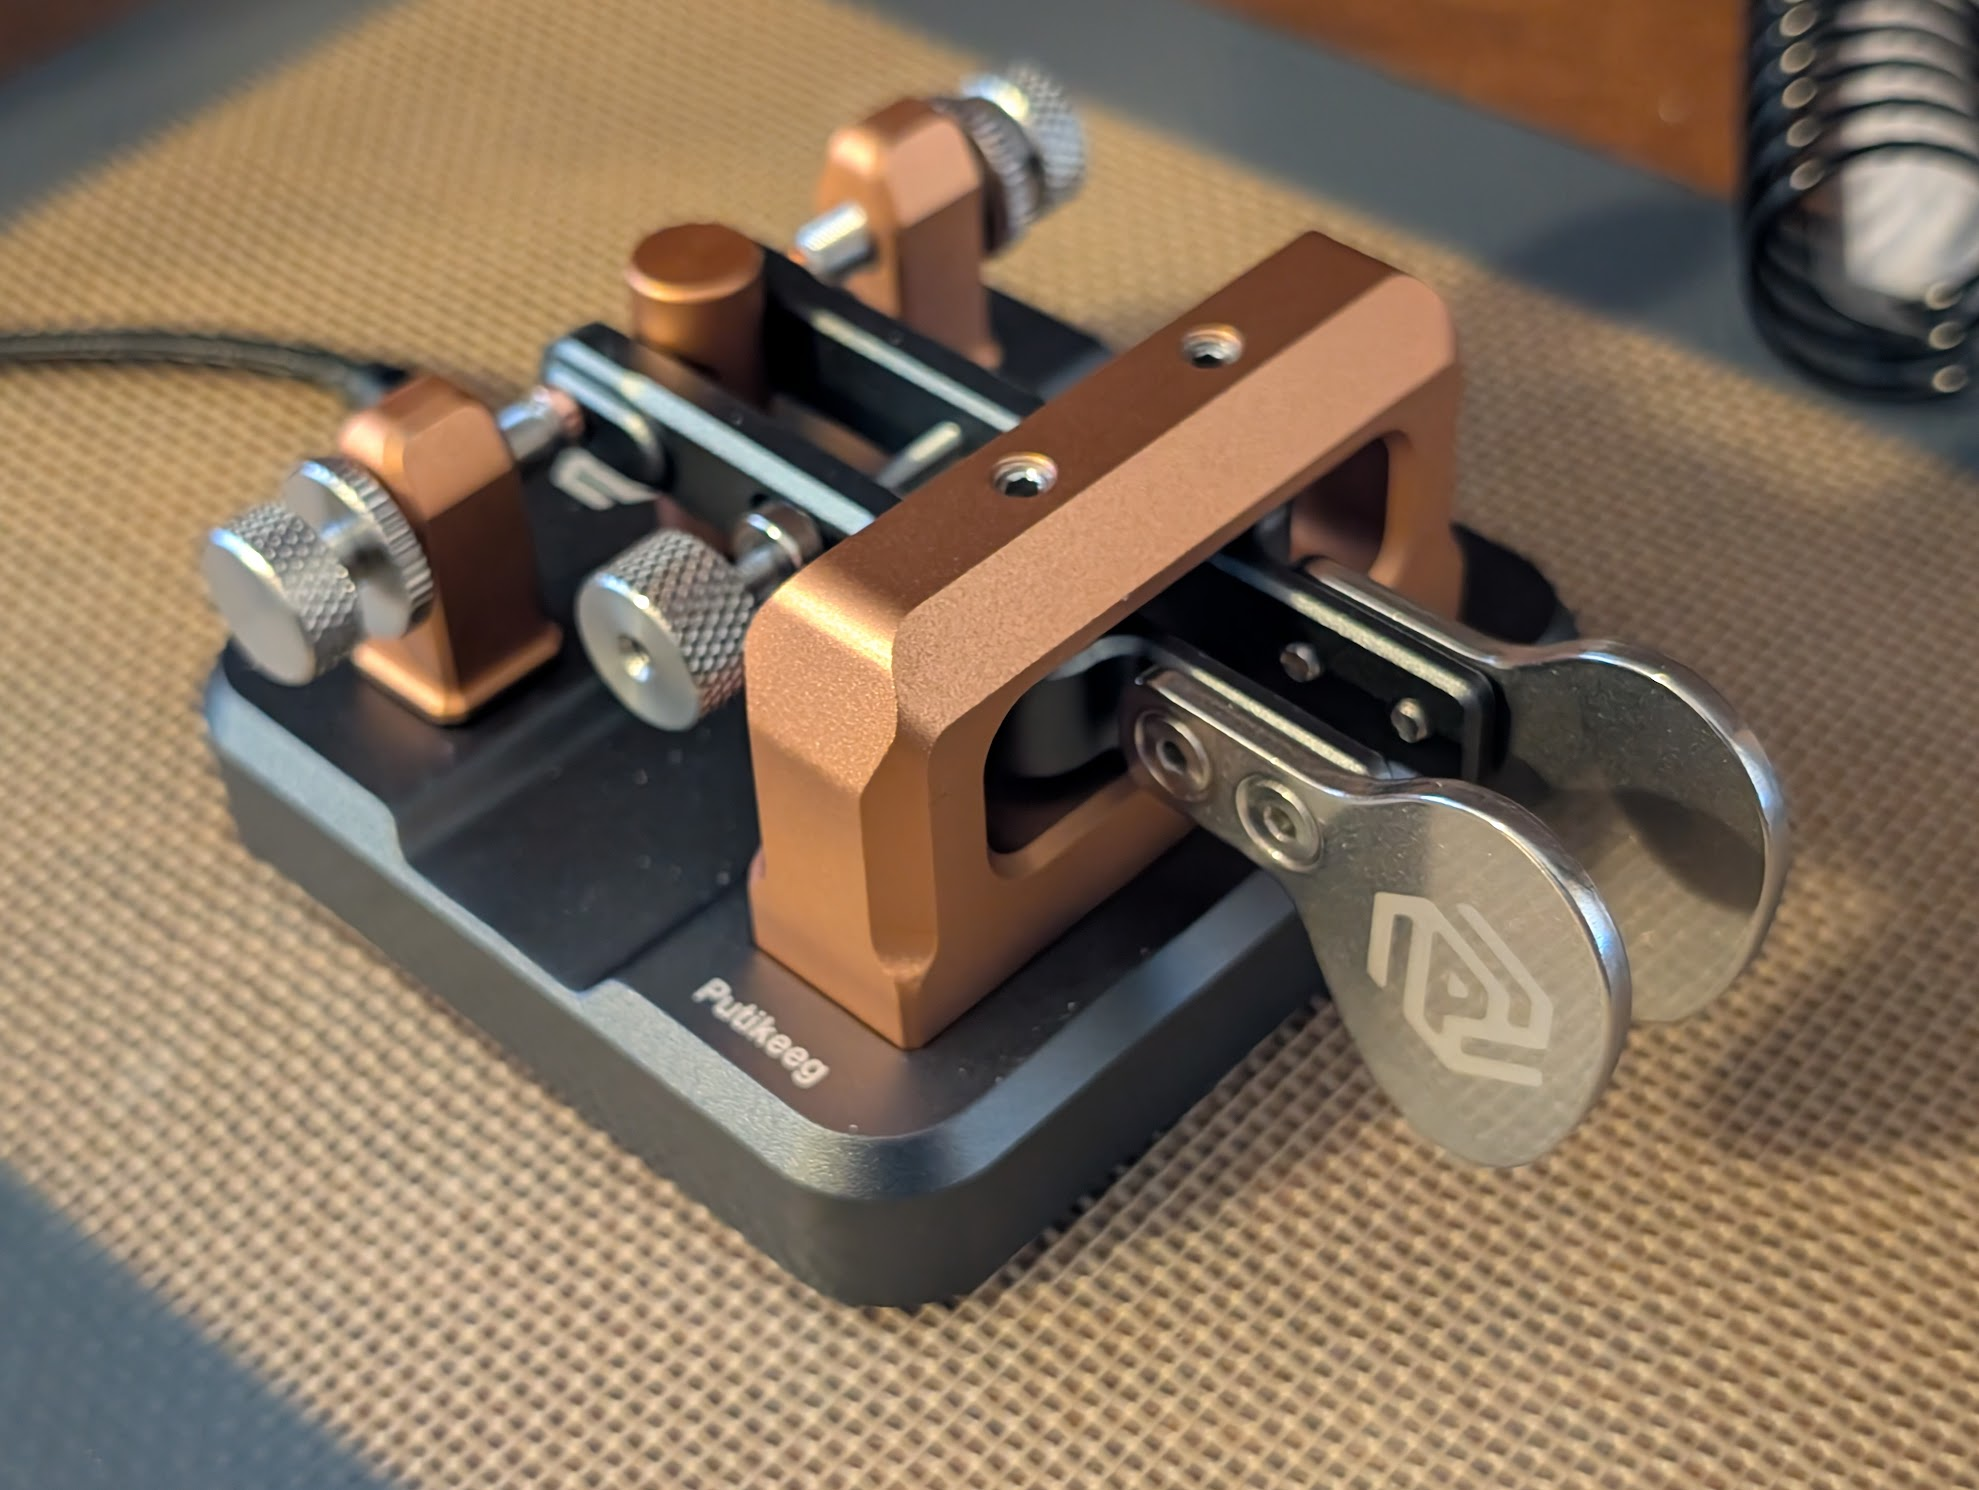
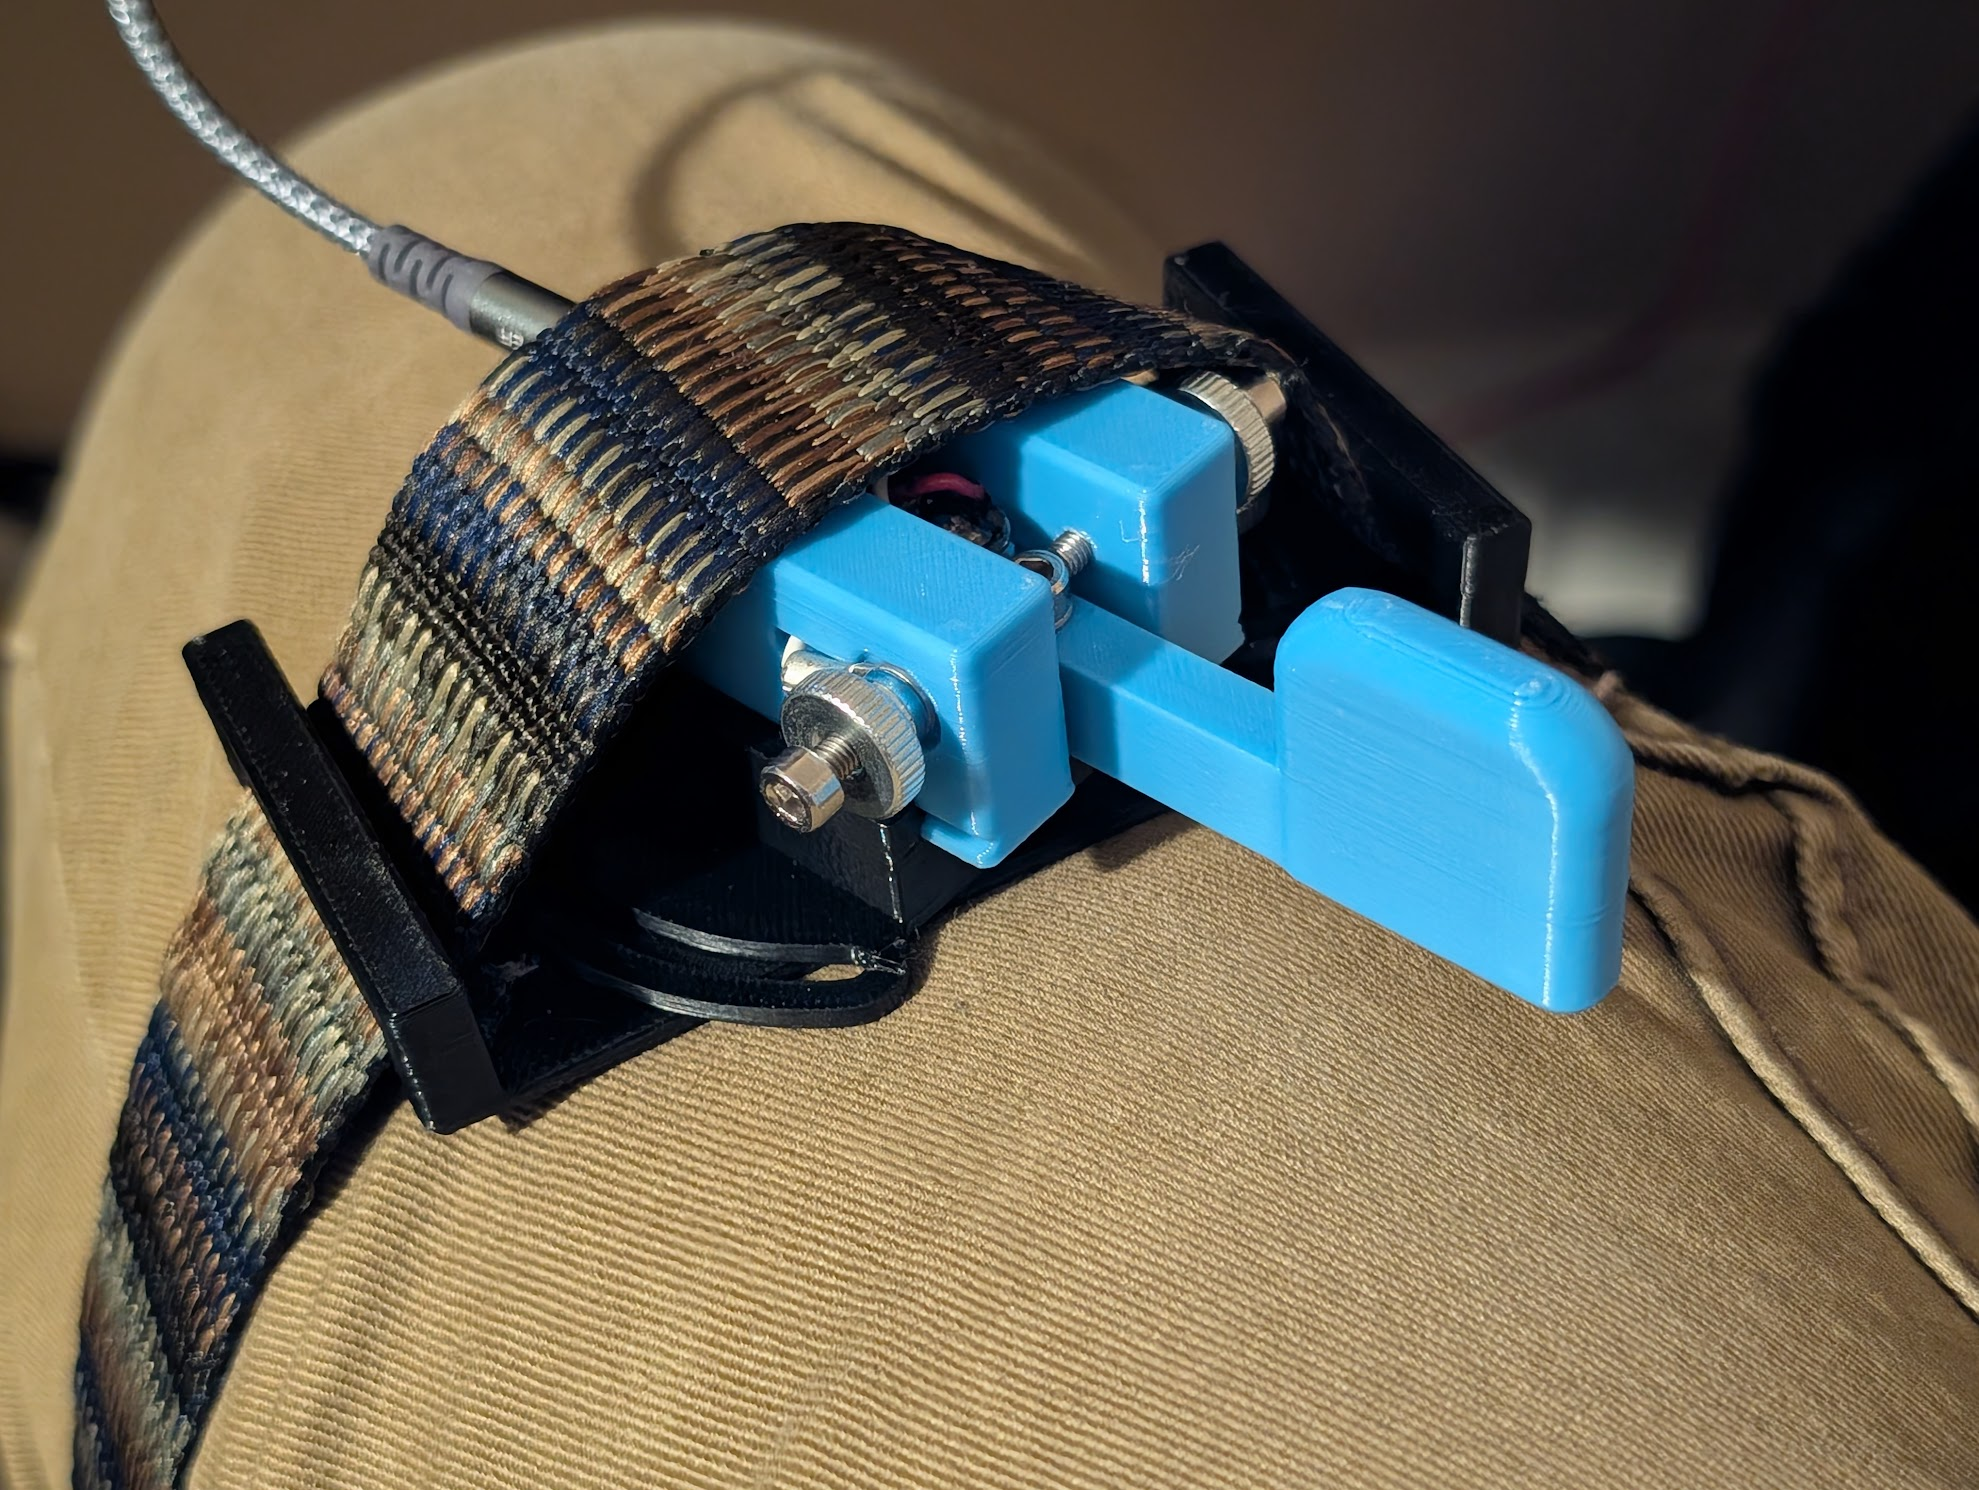
After strapping the 3d printed key to my leg, I finally realized that my #putikeeg dual paddle key has a groove down the center that was clearly sized for a velcro leg strap. I need to get a velcro strap the right size and try that out next. It might actually improve my #CW to have it firmly attached! ☺
-
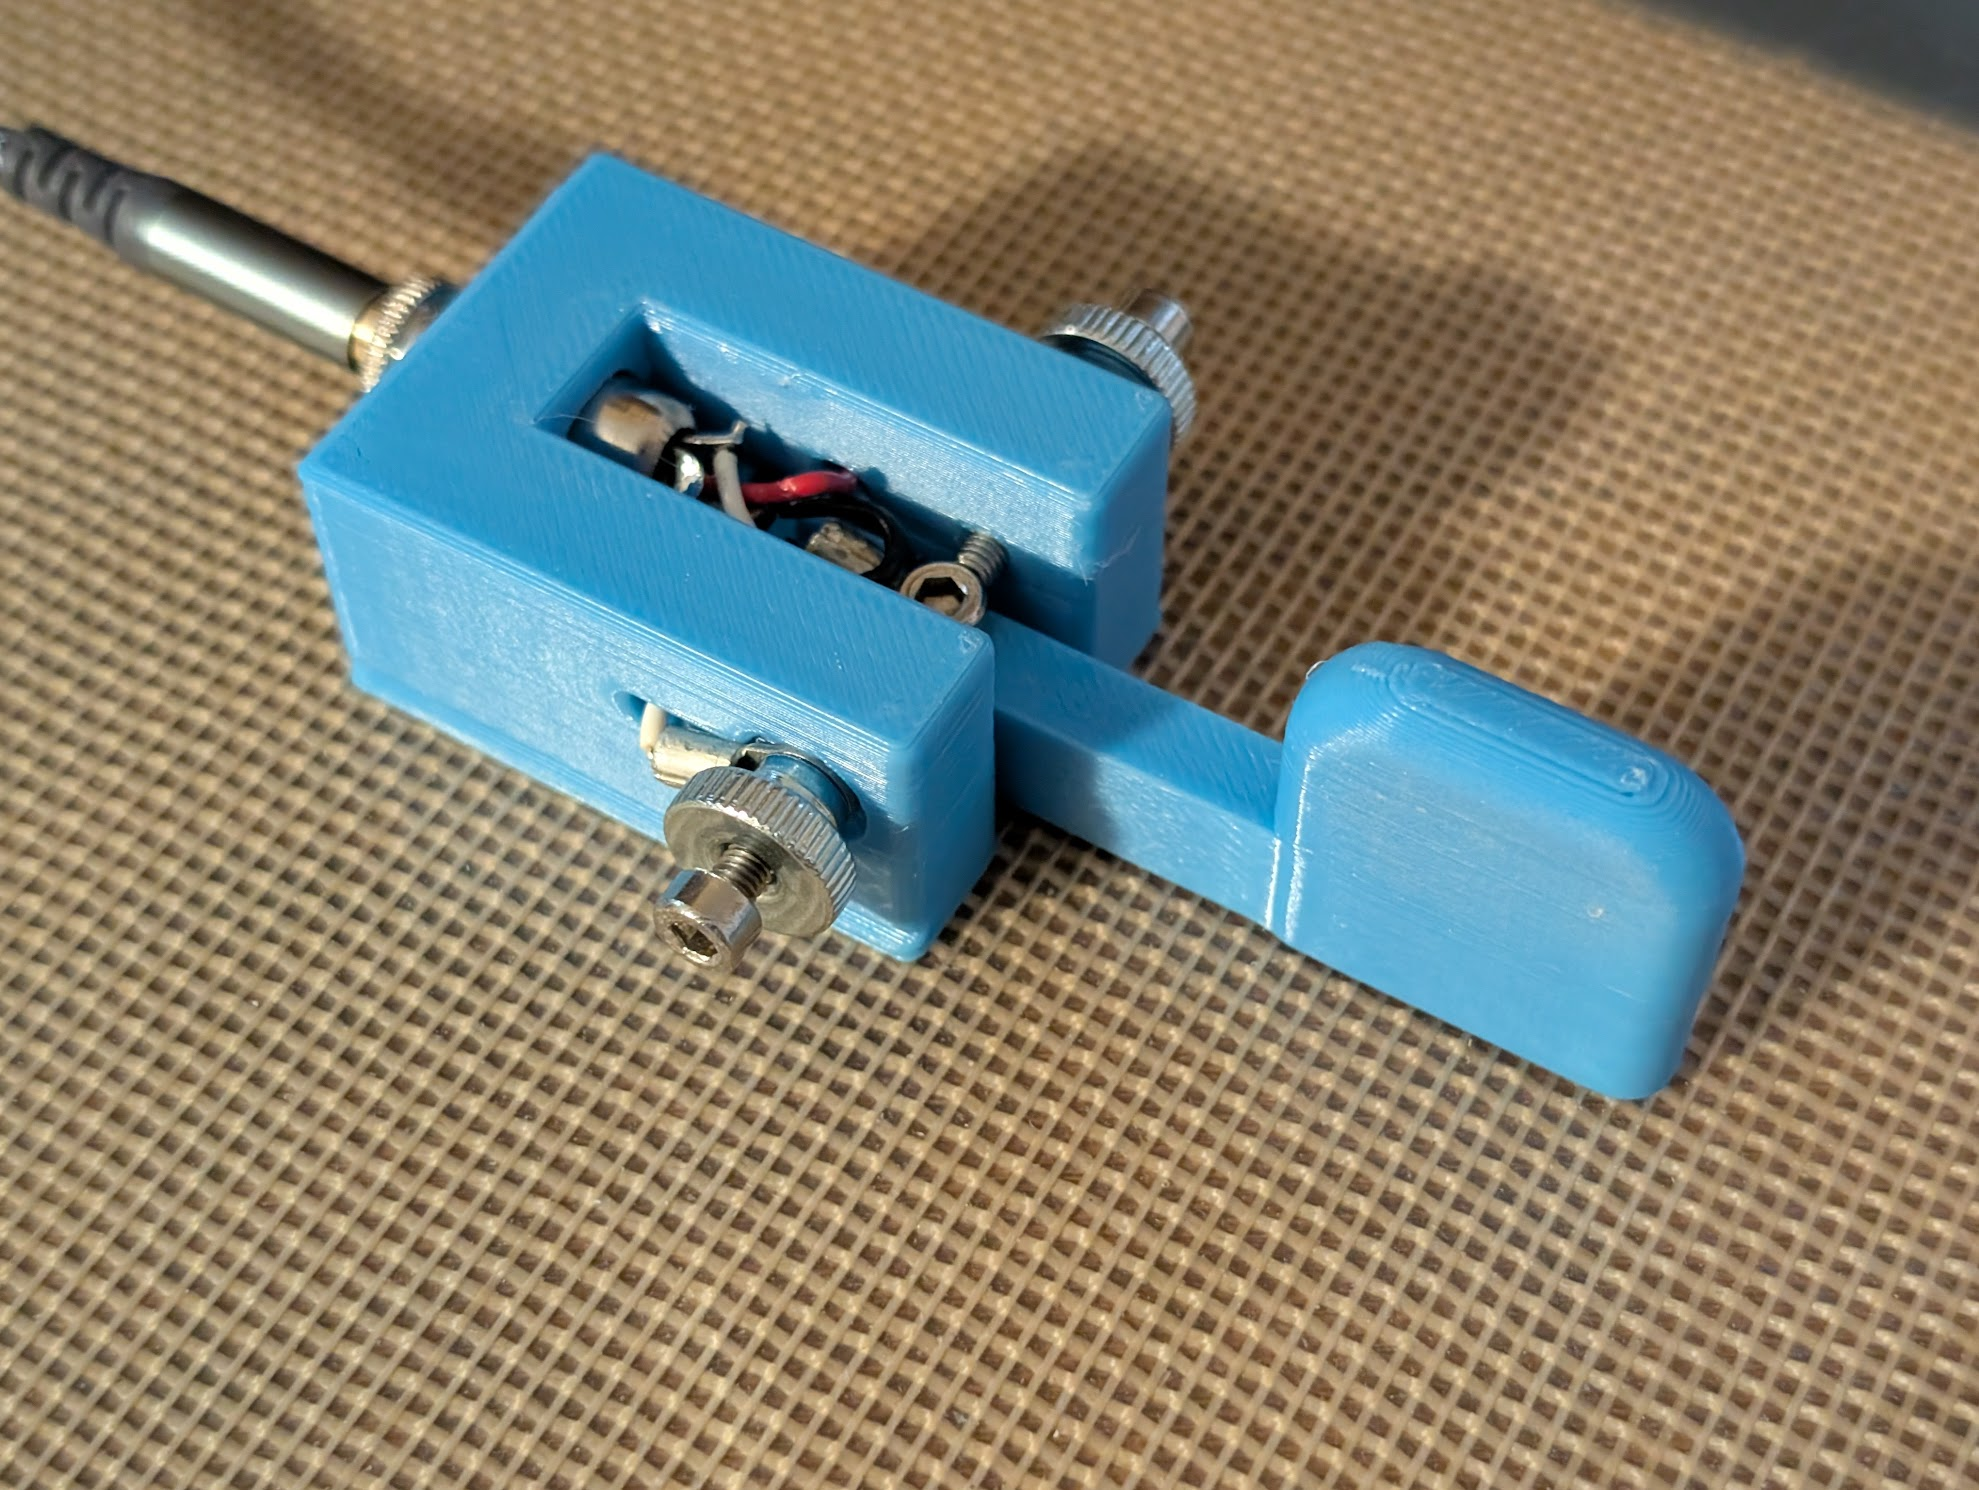
@jhoward OK, finally got around to printing the design, and that spring was too stiff by far, at least for my taste. I'm trying a new design.
I found some thumb nuts that were originally bed adjustment nuts on my first-ever 3D printer to use to lock in the adjustments for the contacts. This style has a shoulder and is available cheaply online.
I'm also experimenting with putting the body of a 1/8" stereo jack into the hole in the back, so that it can be connected with any 1/8" stereo patch cord rather than having to have a cable permanently connected. That might take some careful soldering, through.
If this design is still too stiff, I'll have to decide between just making it thinner and making a symmetric serpentine shape. I was avoiding a serpentine shape to avoid sloppy contact from the spring stretching, but maybe I'm over-thinking that part.
-
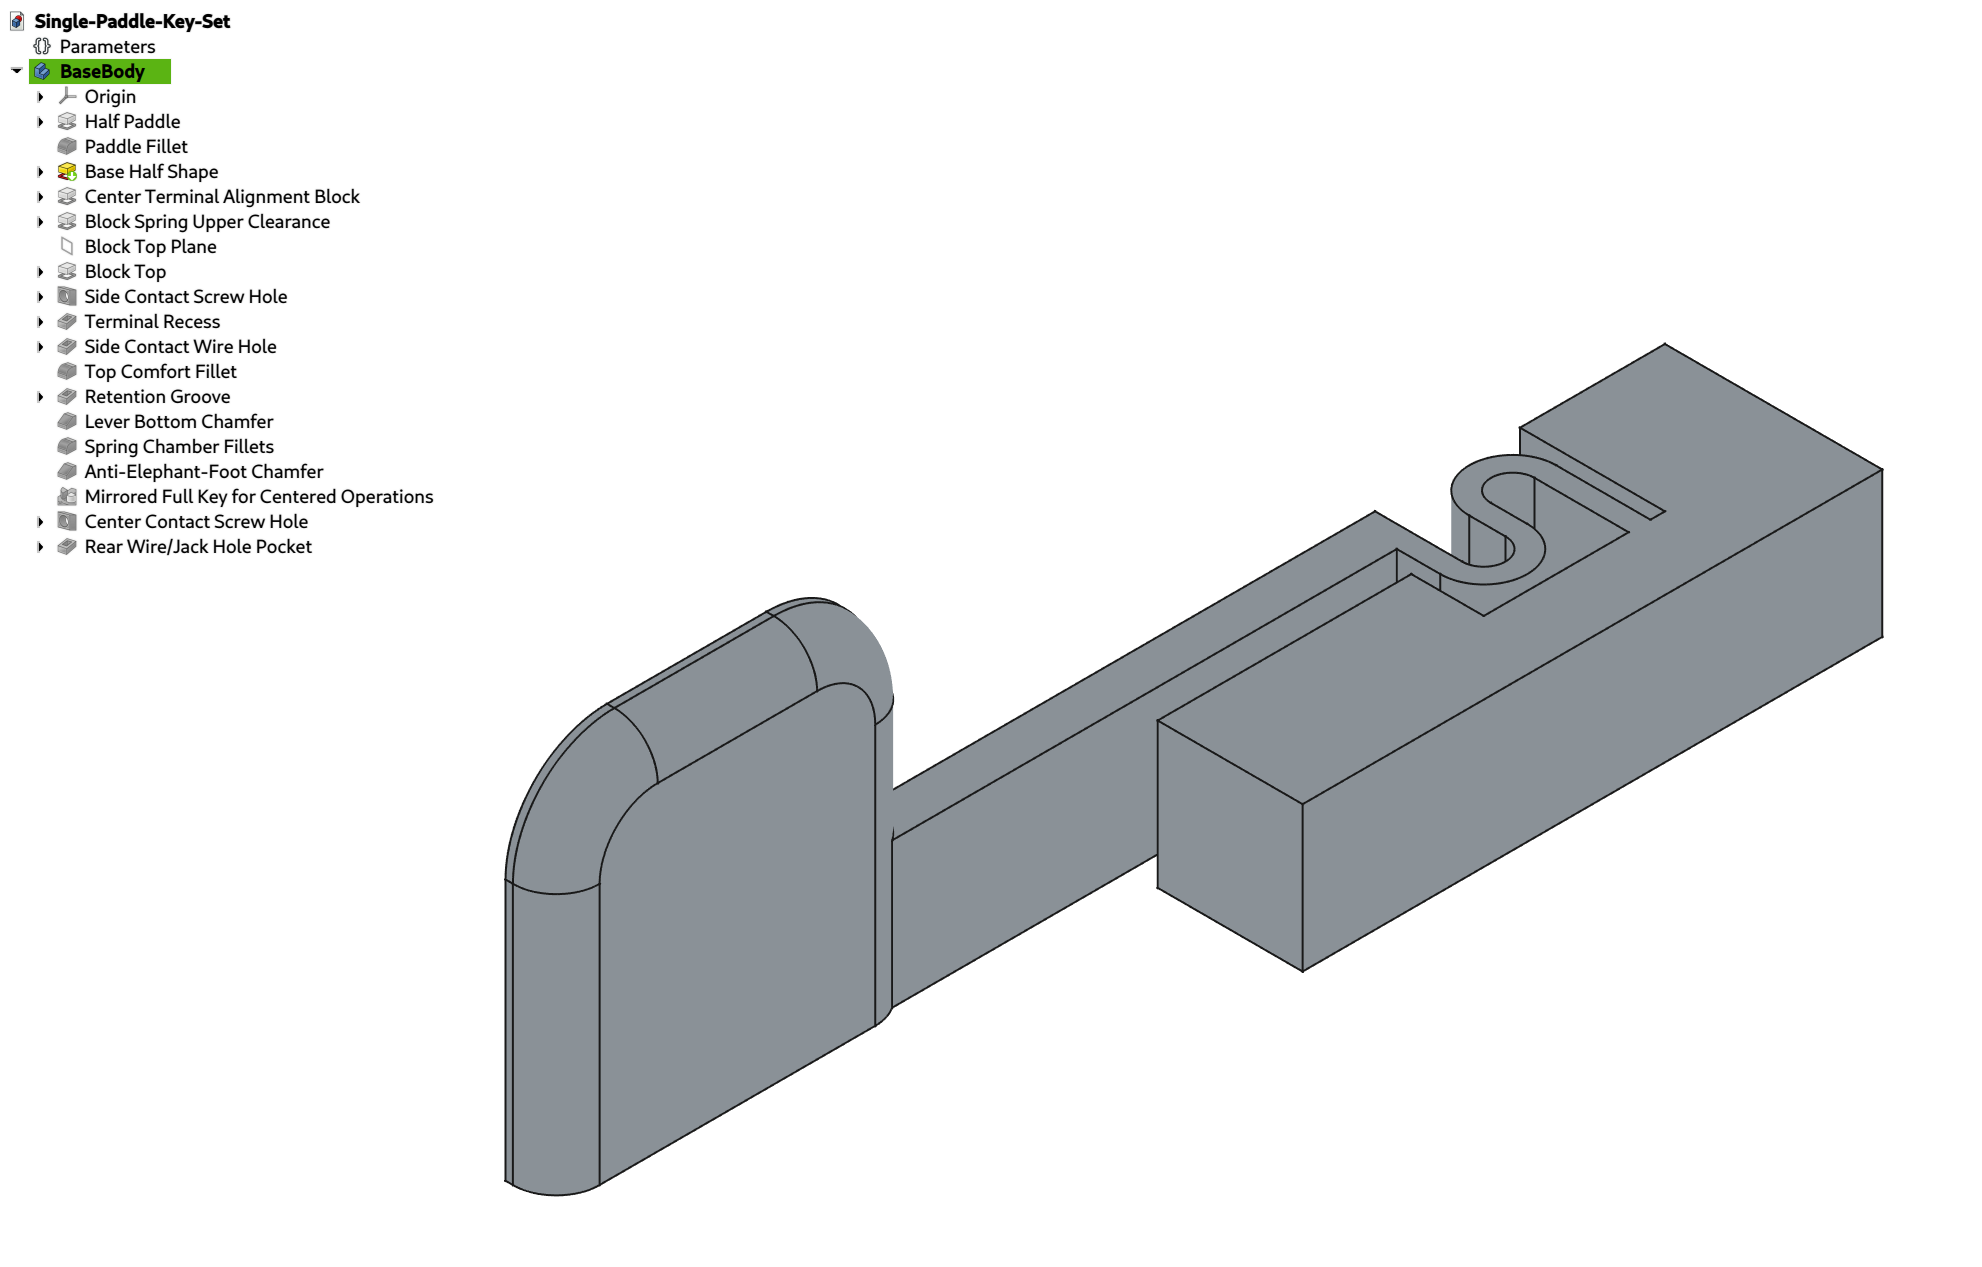
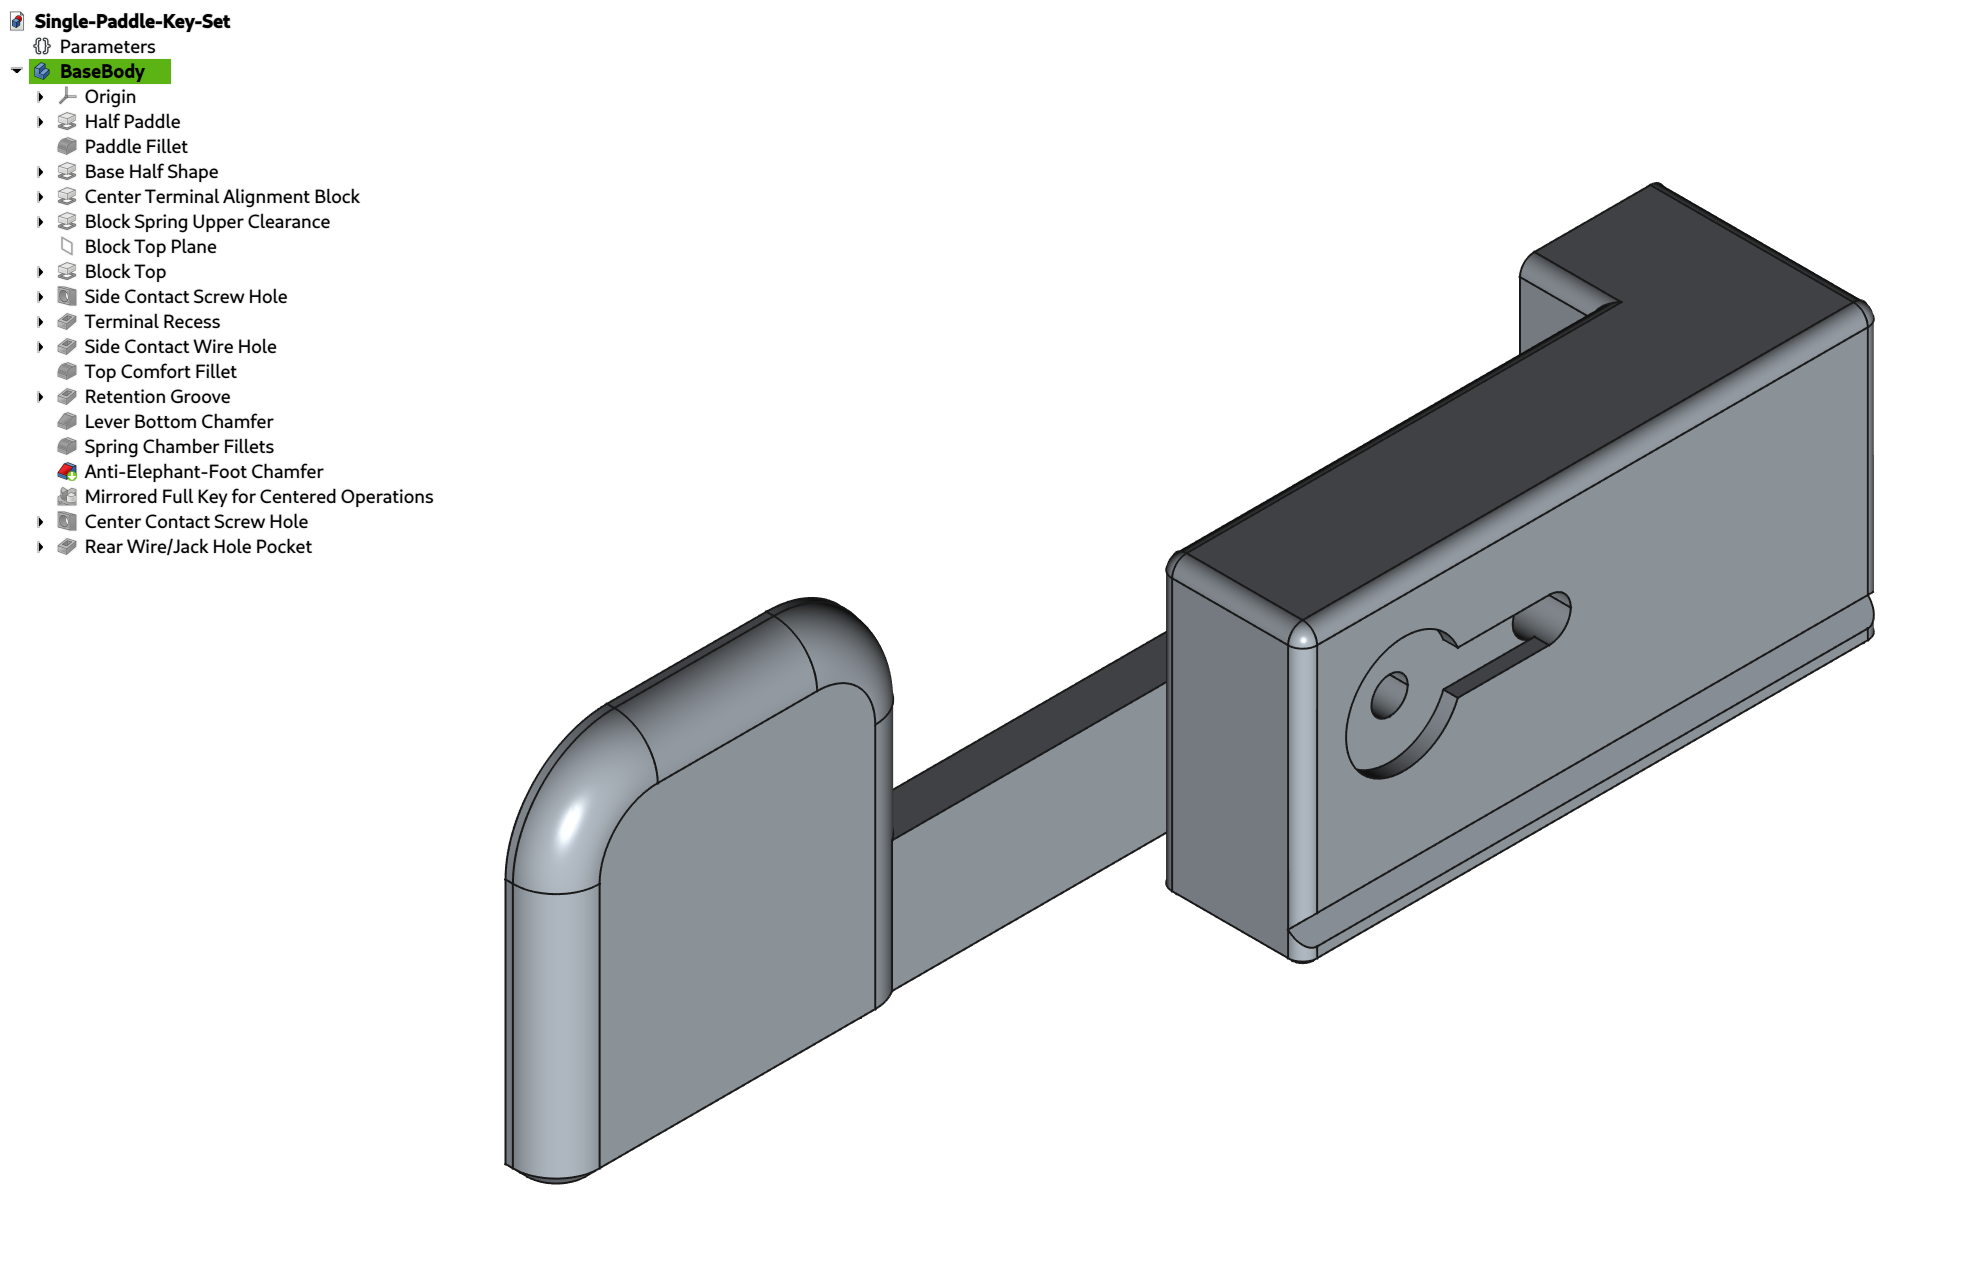
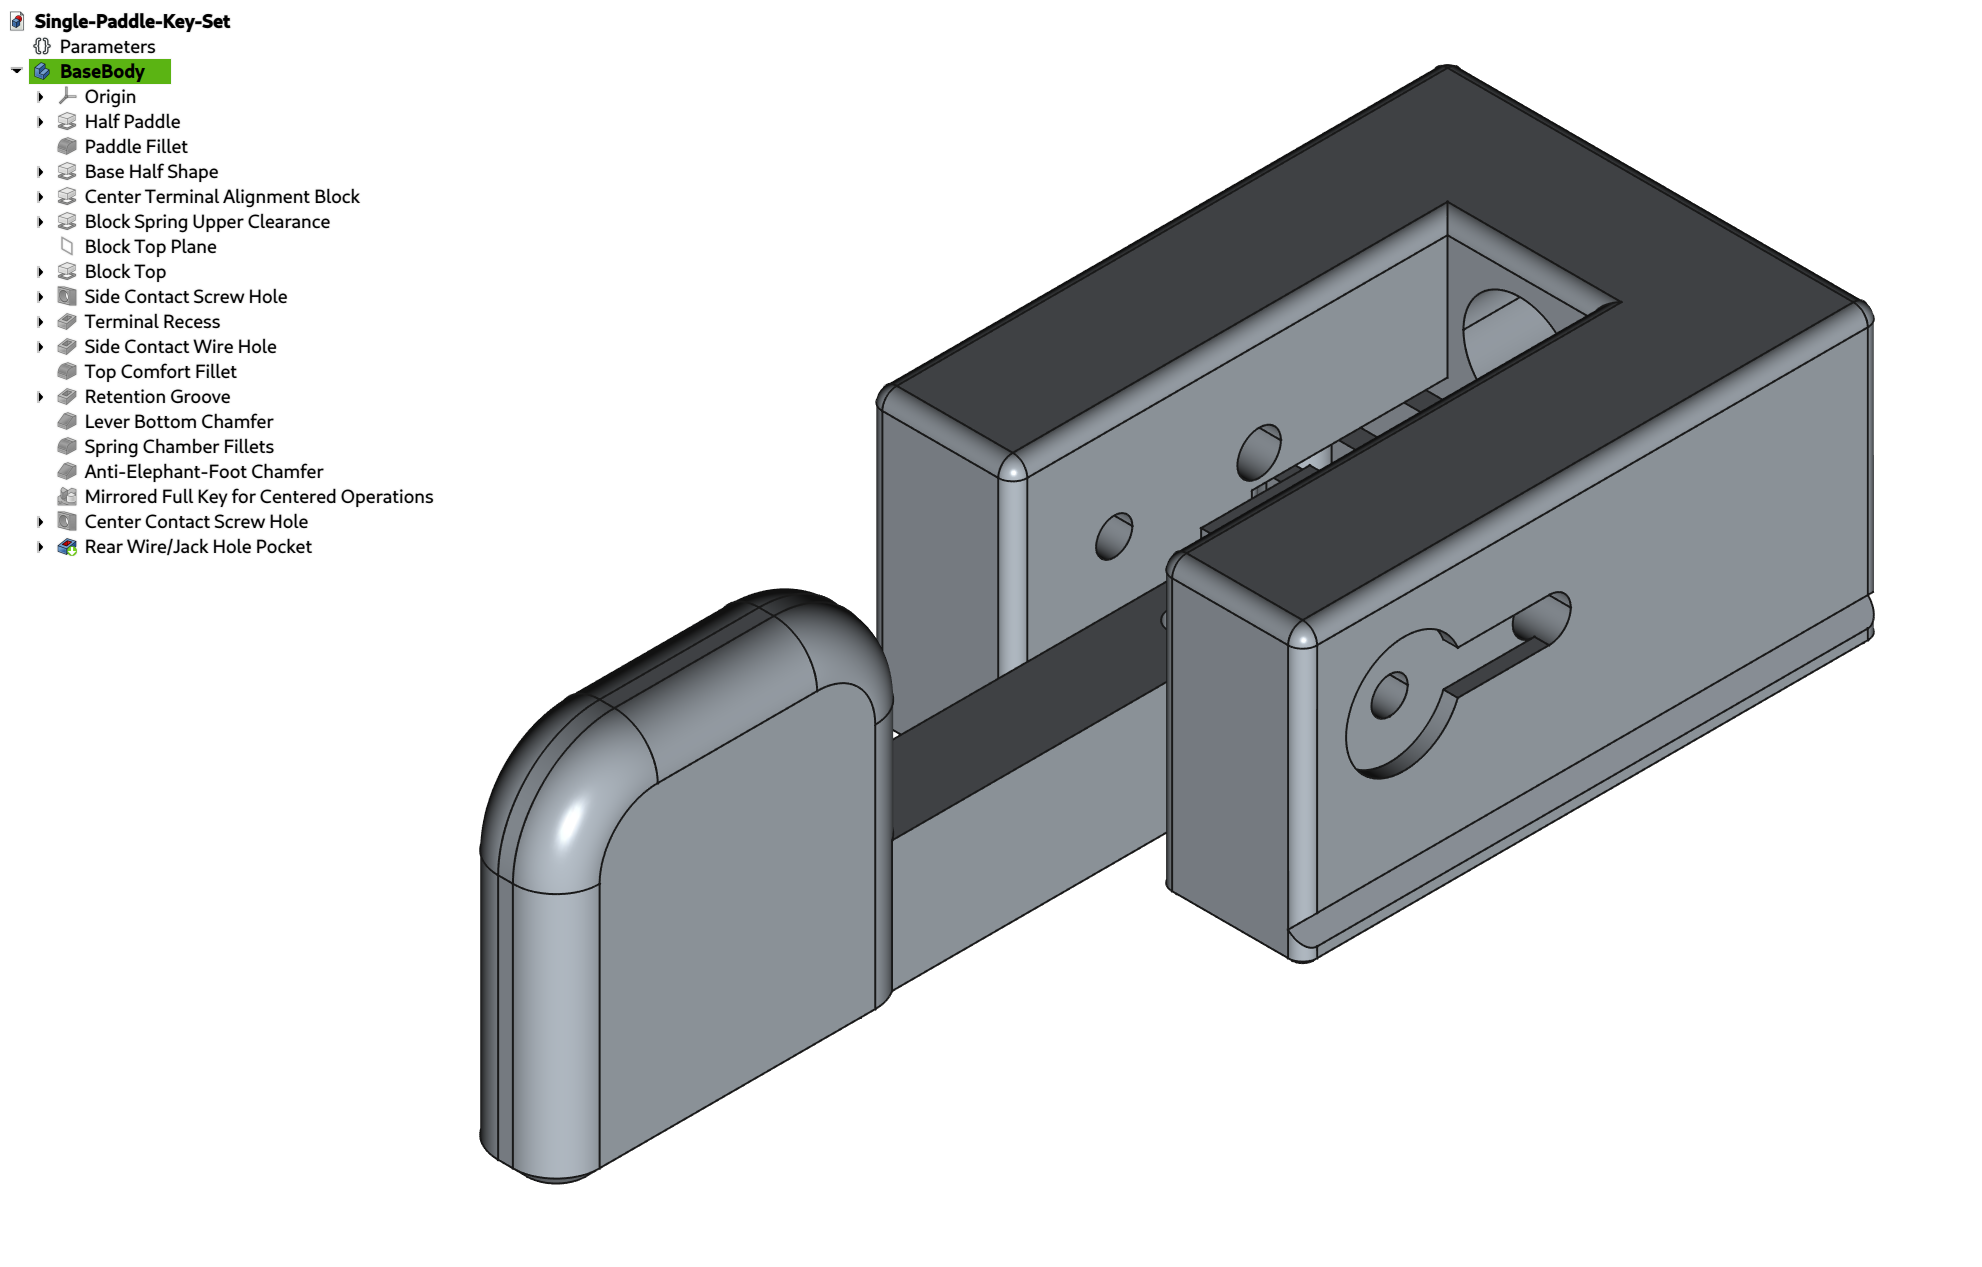
@jhoward That spring design was still too stiff, so the symmetric serpentine was indeed the approach I took. To make enough space, I started over completely from scratch again.
This time, I built up as much as possible as only half the part, then mirrored everything across and added the couple of centered features. I also have a groove cutting through a fillet. This meant that I had to put "dress-up features" (fillets and chamfers) all through the design instead of all at the end. This makes a parametric design more fragile. To combat this, I placed all sketches on base planes and offset them by parametric amounts instead of putting them on faces.
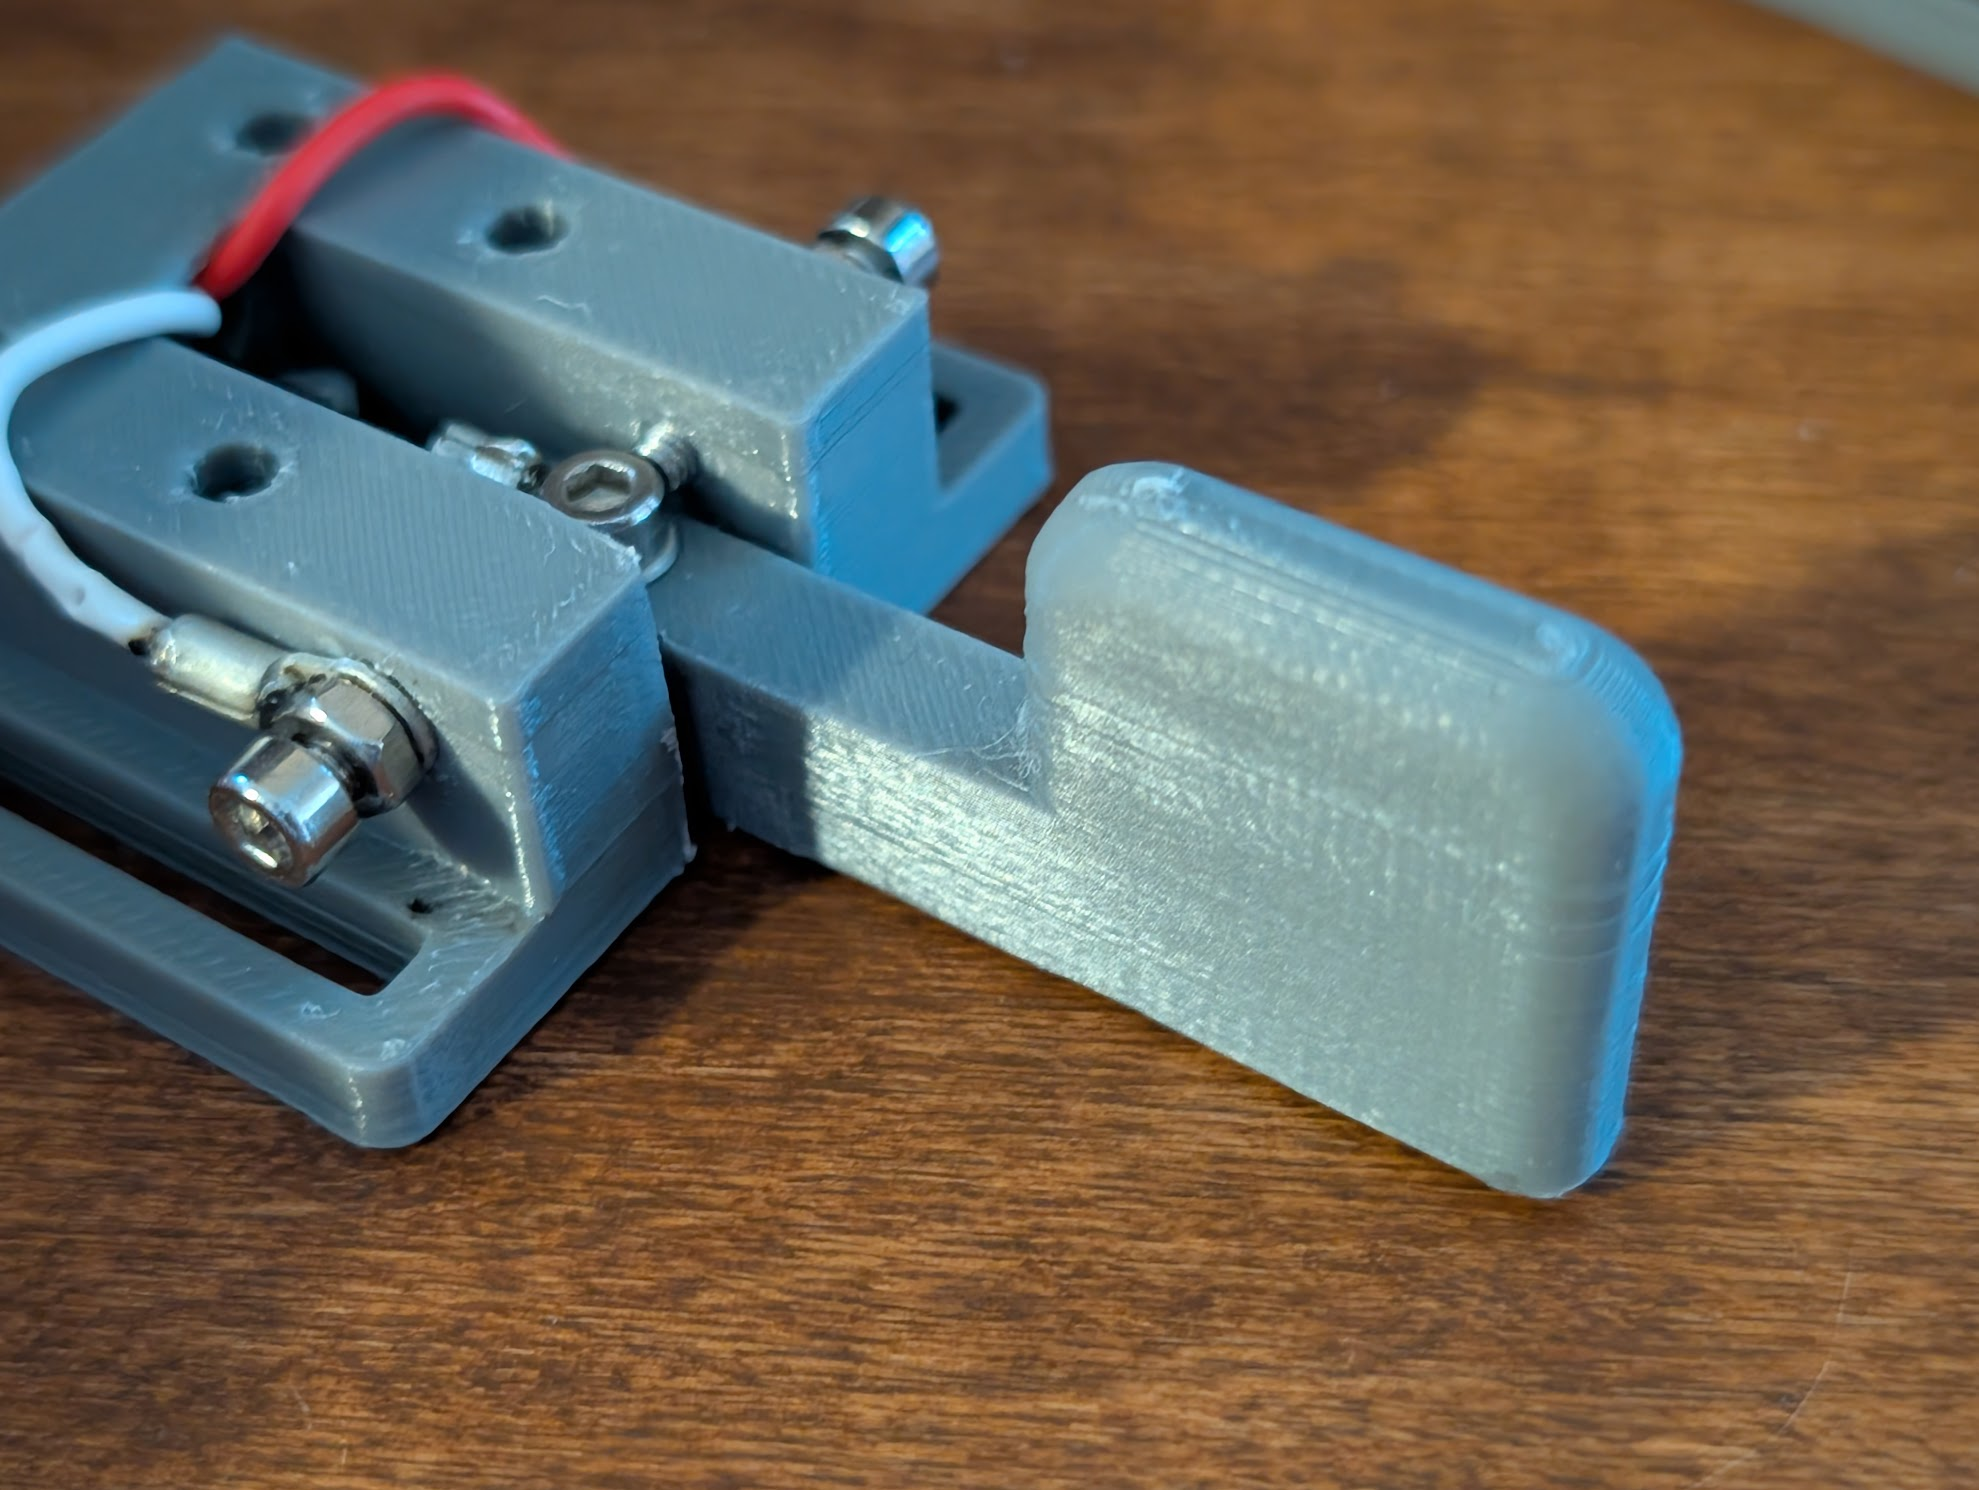
This key is working, but it wants some accessories. The groove down the side is to intersect with a cover/handle, a belt mount, a desk mount that puts the lever off the table, or whatever else one wants... I haven't designed those yet, but they are coming soon.
When I'm done, I will distribute all off this under a license that allows derivatives.
-
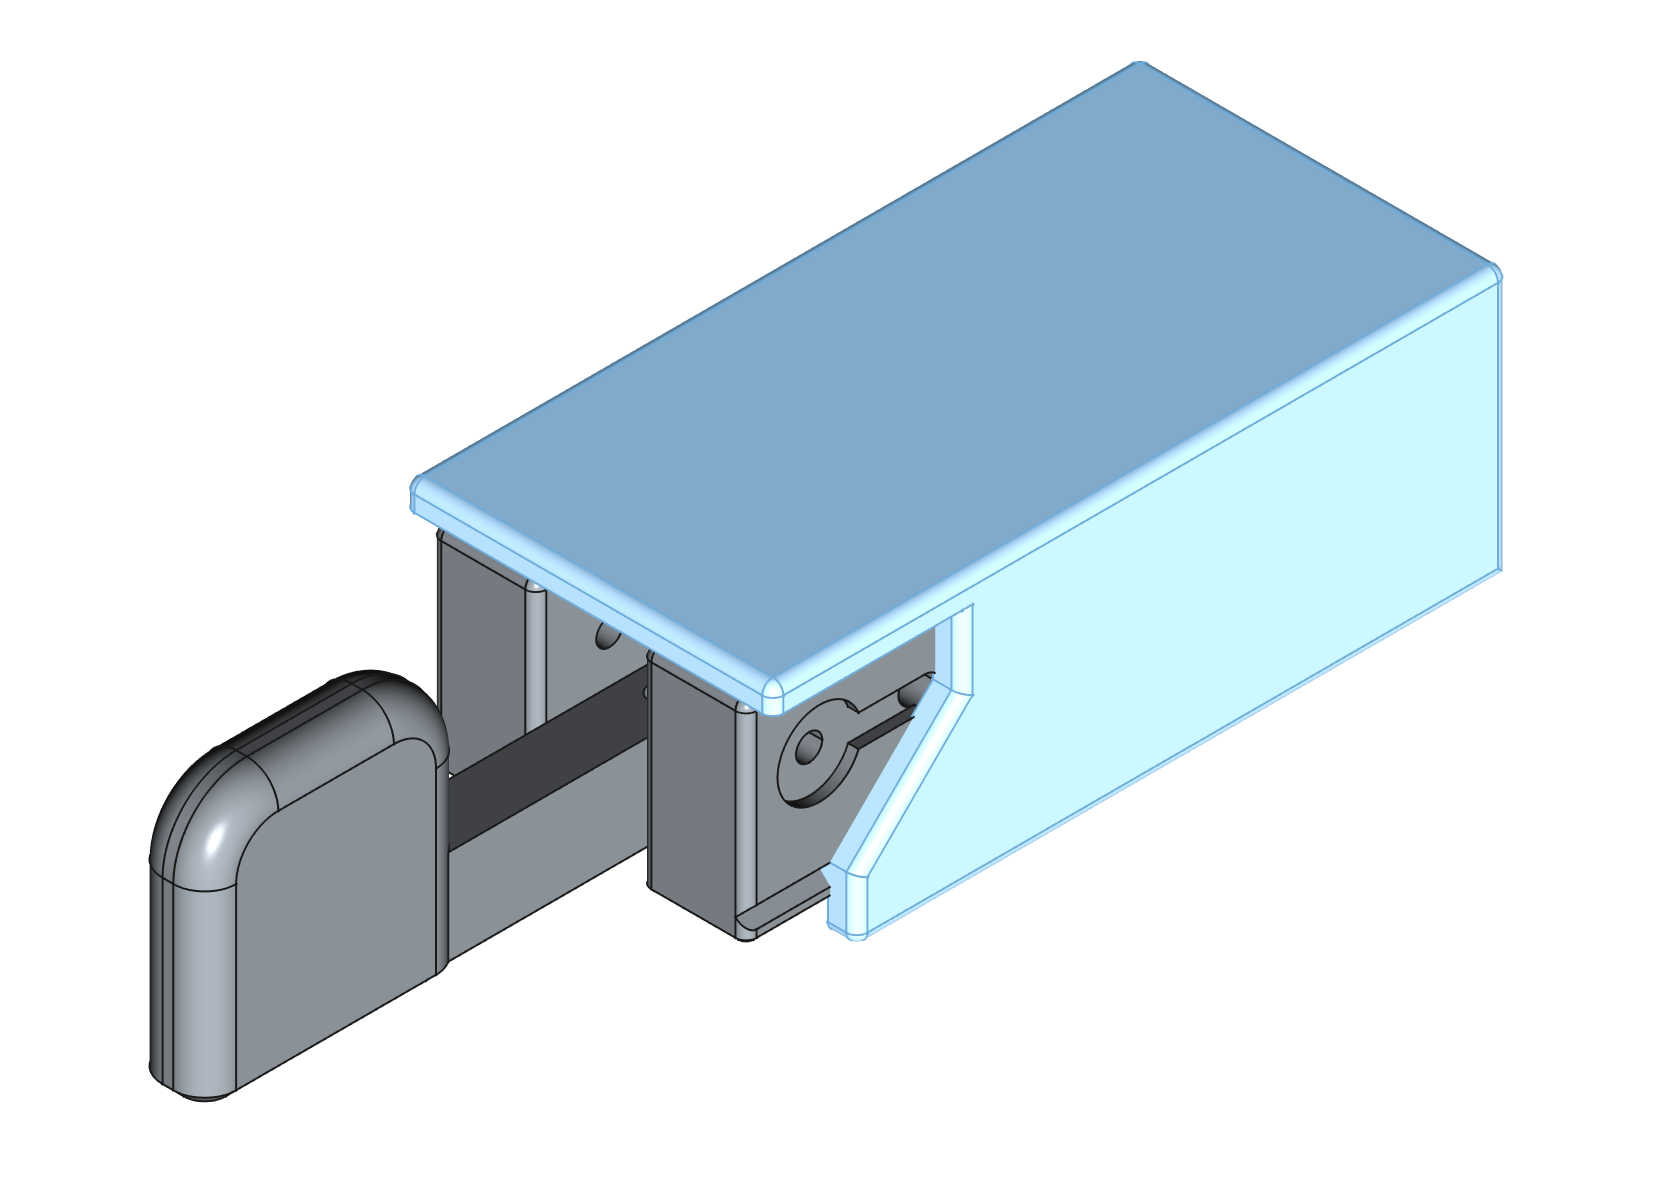
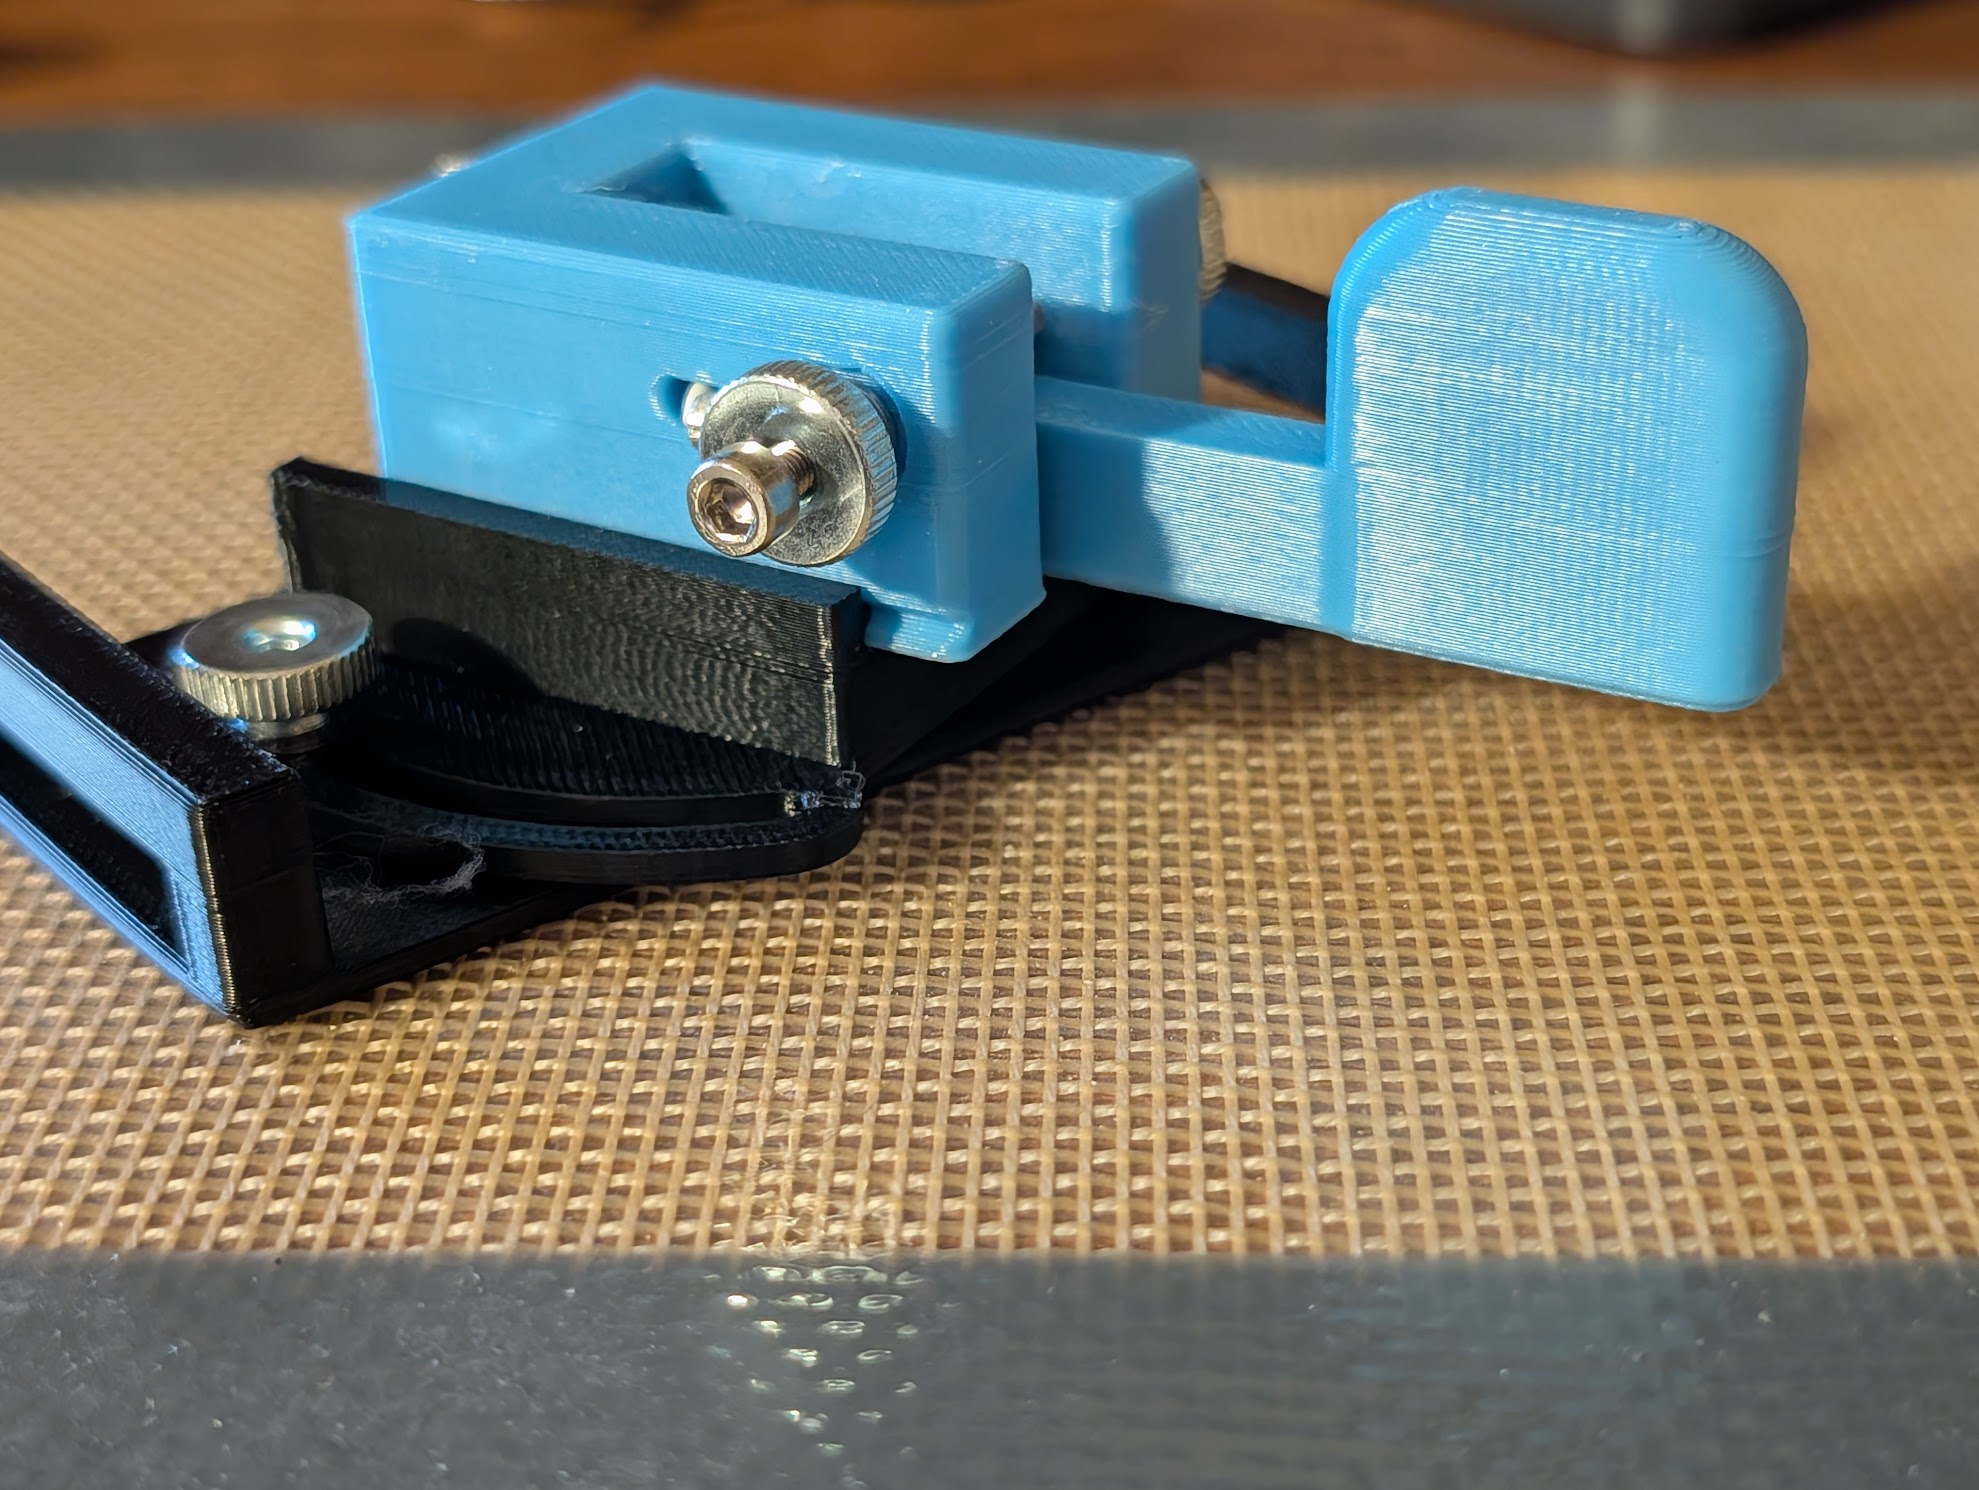
@jhoward For example, here's a cover that slides over the key to give a bit longer grip, protect the wiring, and elevate the key off the table if it's set on a table. I'm still working on making the sliding fit perfect by getting the right amount of interference. I'm printing my 4th iteration now as I approach perfection good enough.

Next, I'm thinking of a belt mount with a locking swivel so you can attach it to your leg at a comfortable angle for you.
-
My #3DPrinted #MorseCode key design is coming along.
The cover/handle works really well, I think. I printed it just long enough to be comfortable in my hand. Someone else might want it shorter or longer.
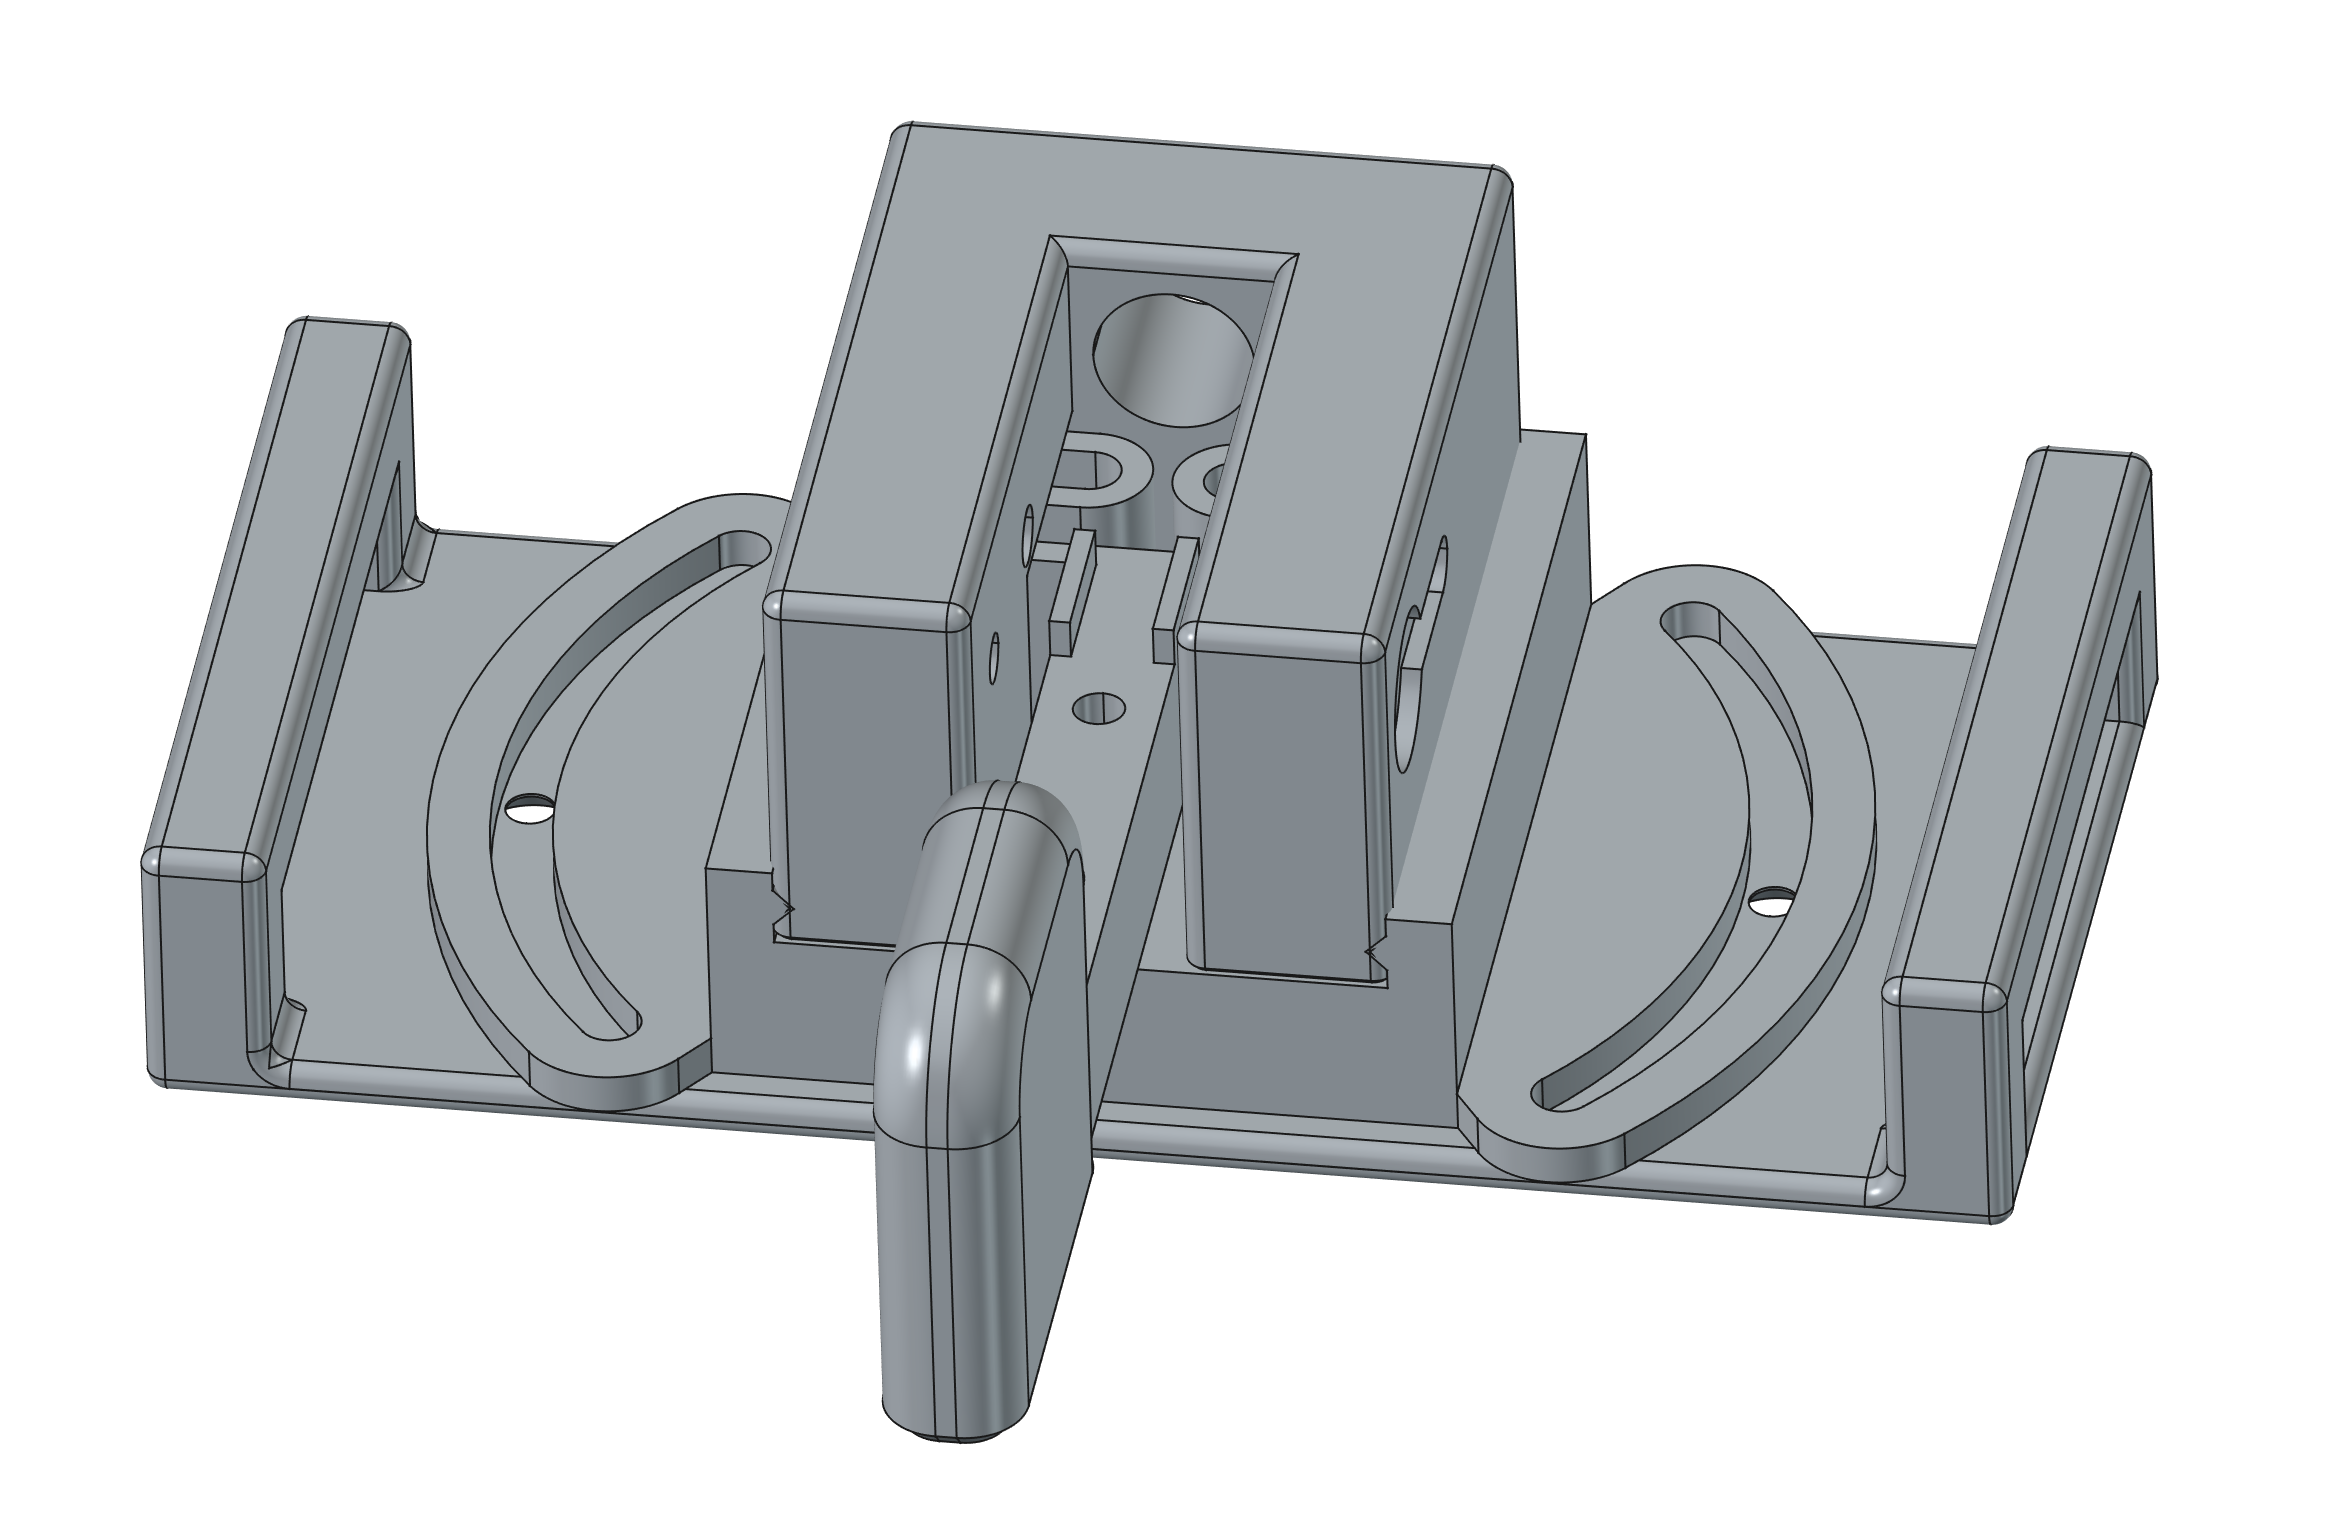
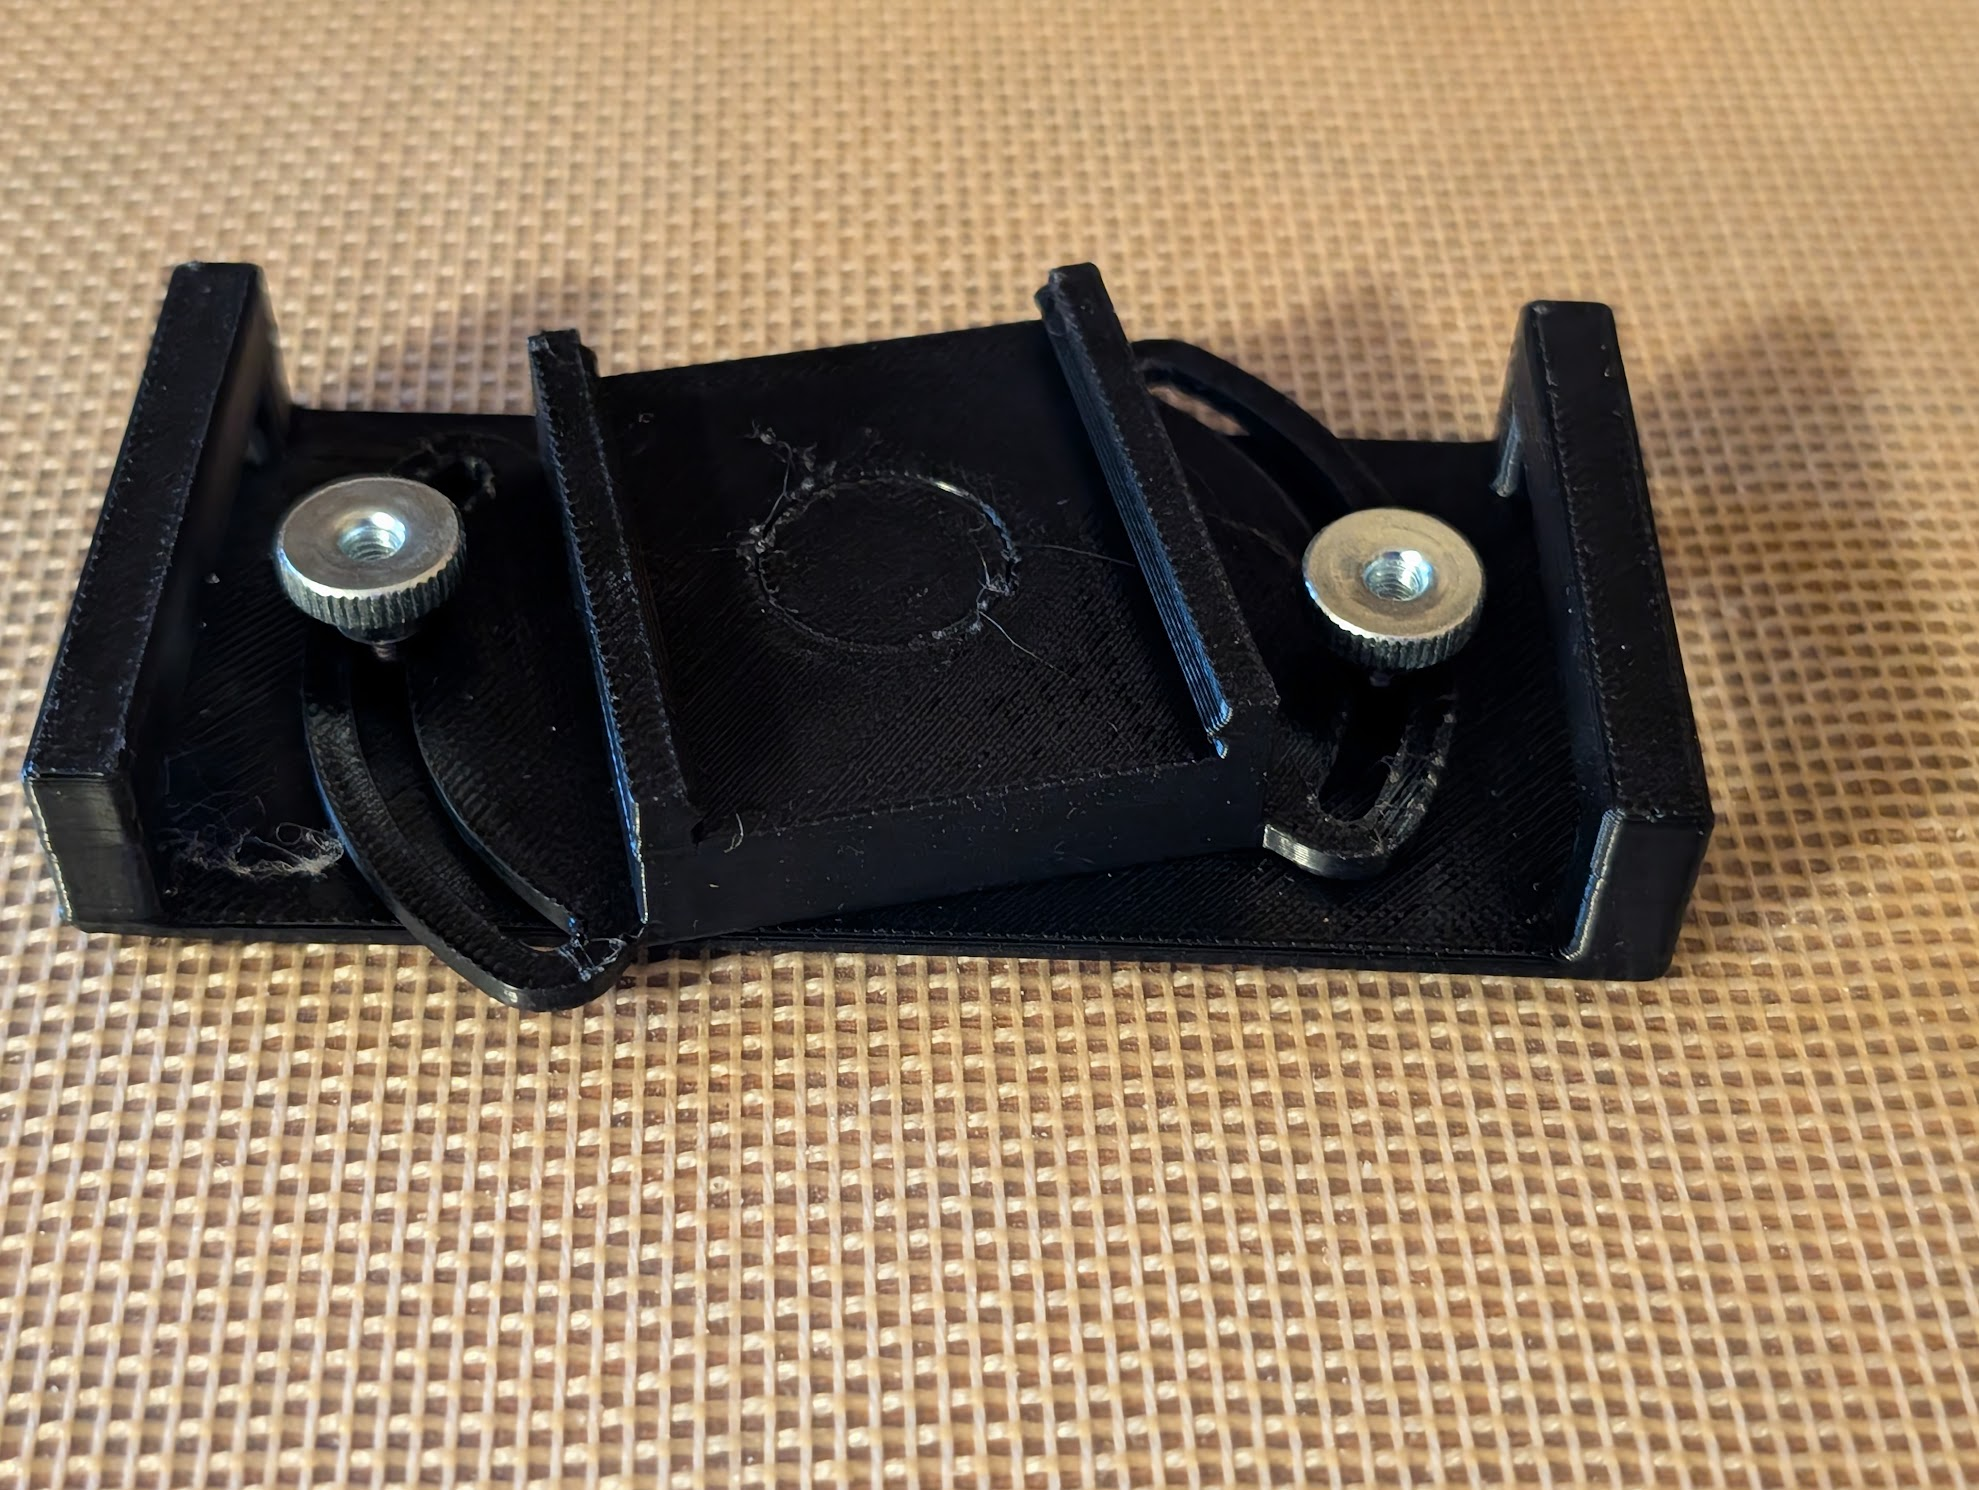
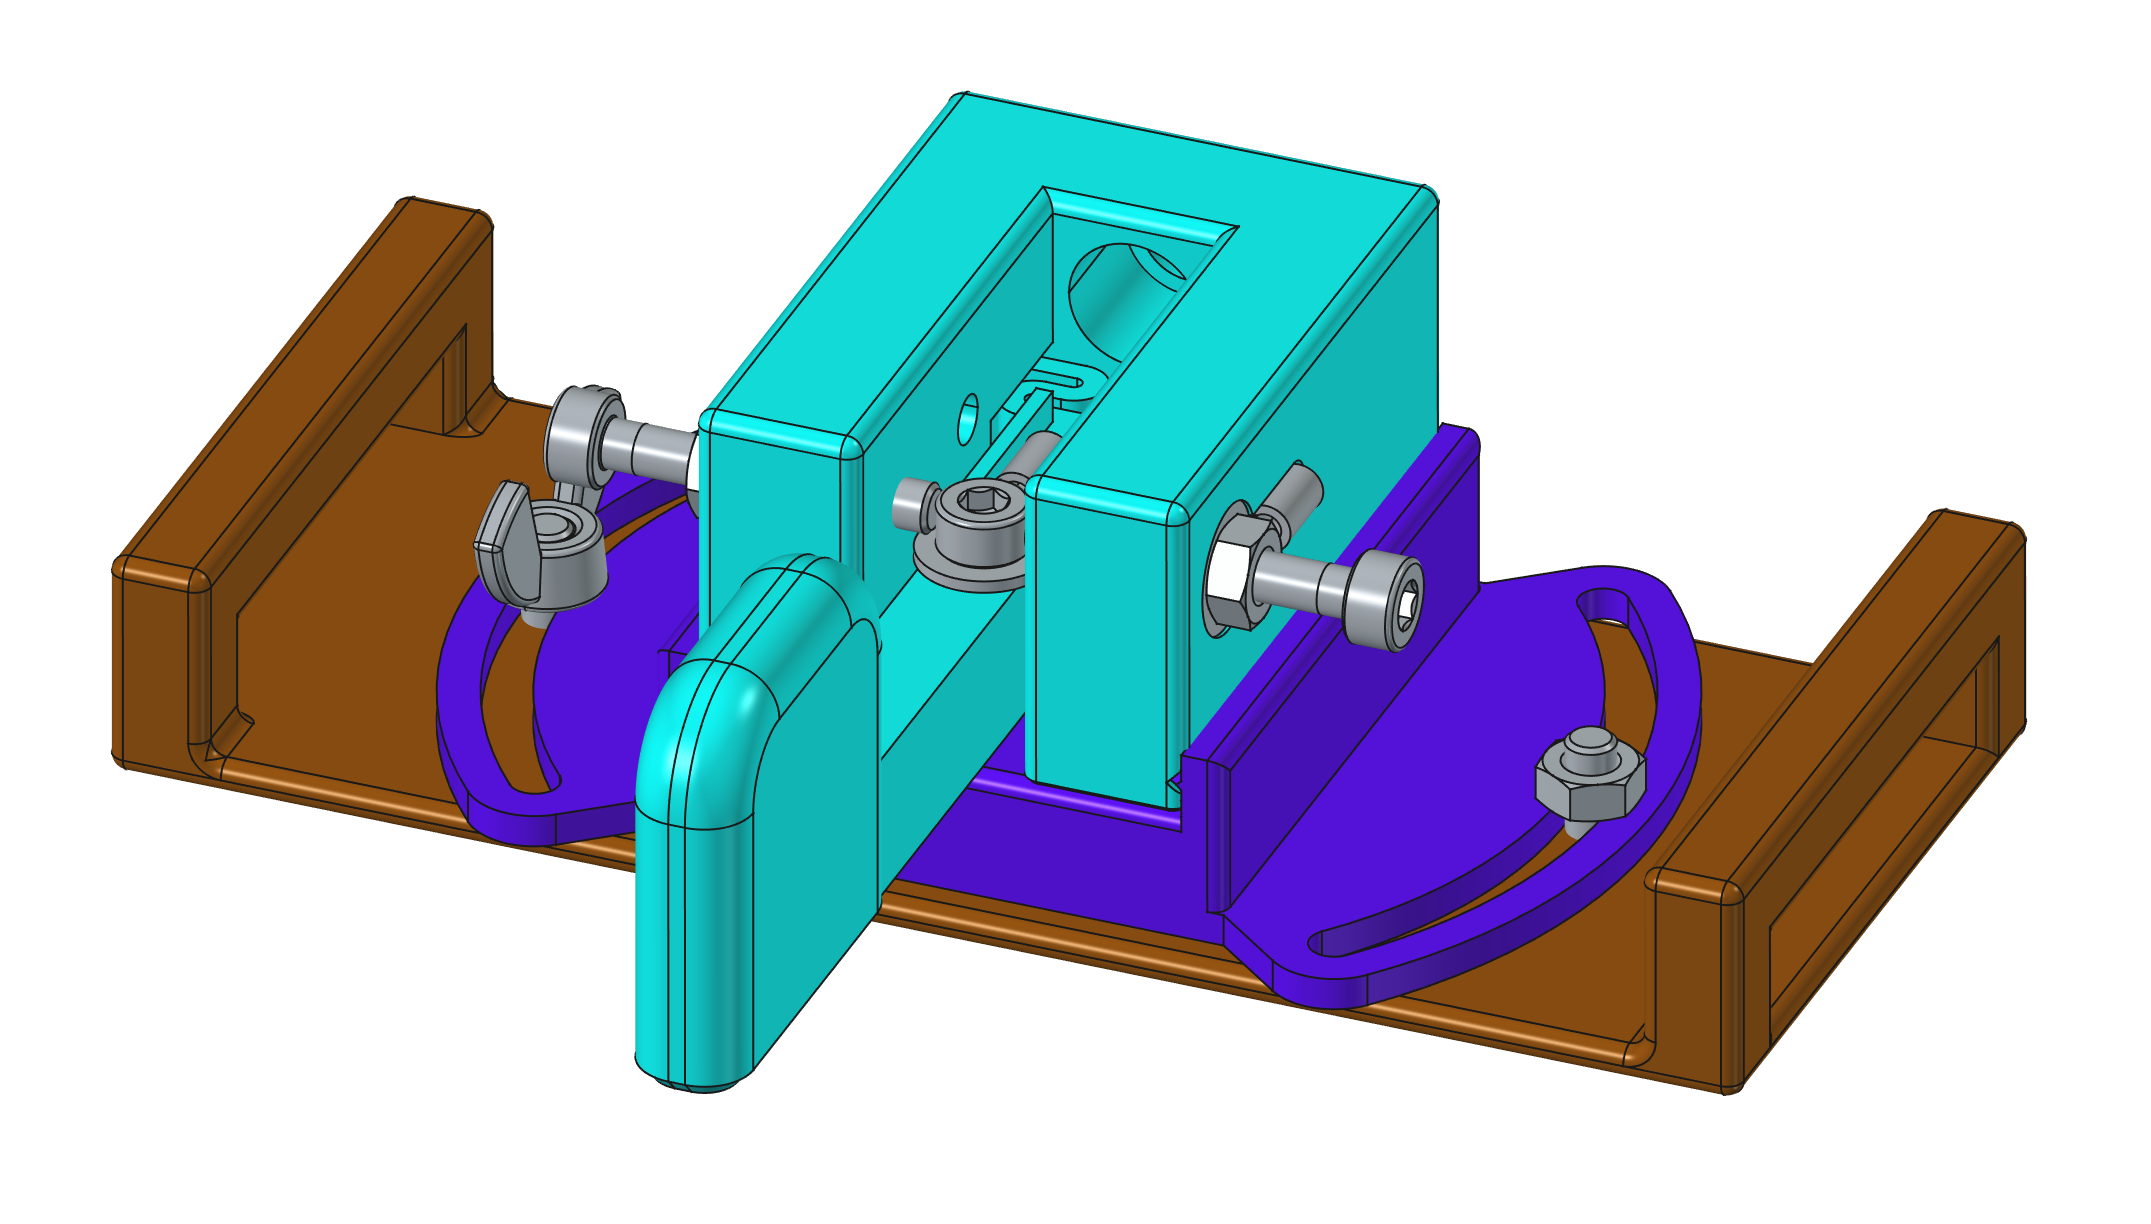
Meanwhile, I've also designed a belt mount. The belt goes through slots in a base that goes under the key, and it goes over the key to make it a solid fit. I could have done one where the belt goes underneath, but this seems like it would be more solid. Then the key slides into a block that swivels, and a few more thumb nuts lock it into any location you like within 40° left or right of center.
This is extremely parametric. The height of the block, the allowed degrees of swing, how thick and wide the belt are, how wide the whole thing is; most of the dimensions are derived from parameters.
This is the second revision of the base and swivel. The first version didn't swivel far enough, the key wasn't raise up far enough above my leg, and the whole thing was too wide. If the key isn't high enough, I inadvertently TX from my pants leg fabric brushing the key. This is because I have the key set to maybe 0.5mm travel to each side; it's quite sensitive. On this iteration, it's slightly too narrow; I can only fit a thin belt through it because the thumb nuts that lock the swivel in place interfere. The next version will be just a little wider.
I think I'm ready for some beta testers! Folks who don't mind running FreeCAD to adjust parameters and print multiple copies to adjust for the filament they are using could help make this good for others. Any #HamRadio #AmateurRadio CW enthusiasts also enjoy 3d printing and want to try this?
-
This design is ready for you to test!
I printed out keys with six different variations on spring strength, four different sizes of covers, two different heights of swivel bases, and brought them all to my local club monthly show-and-tell. A few others club members have also printed them. I took some feedback, and have now updated the documentation and released STEP and STL files for multiple configurations.
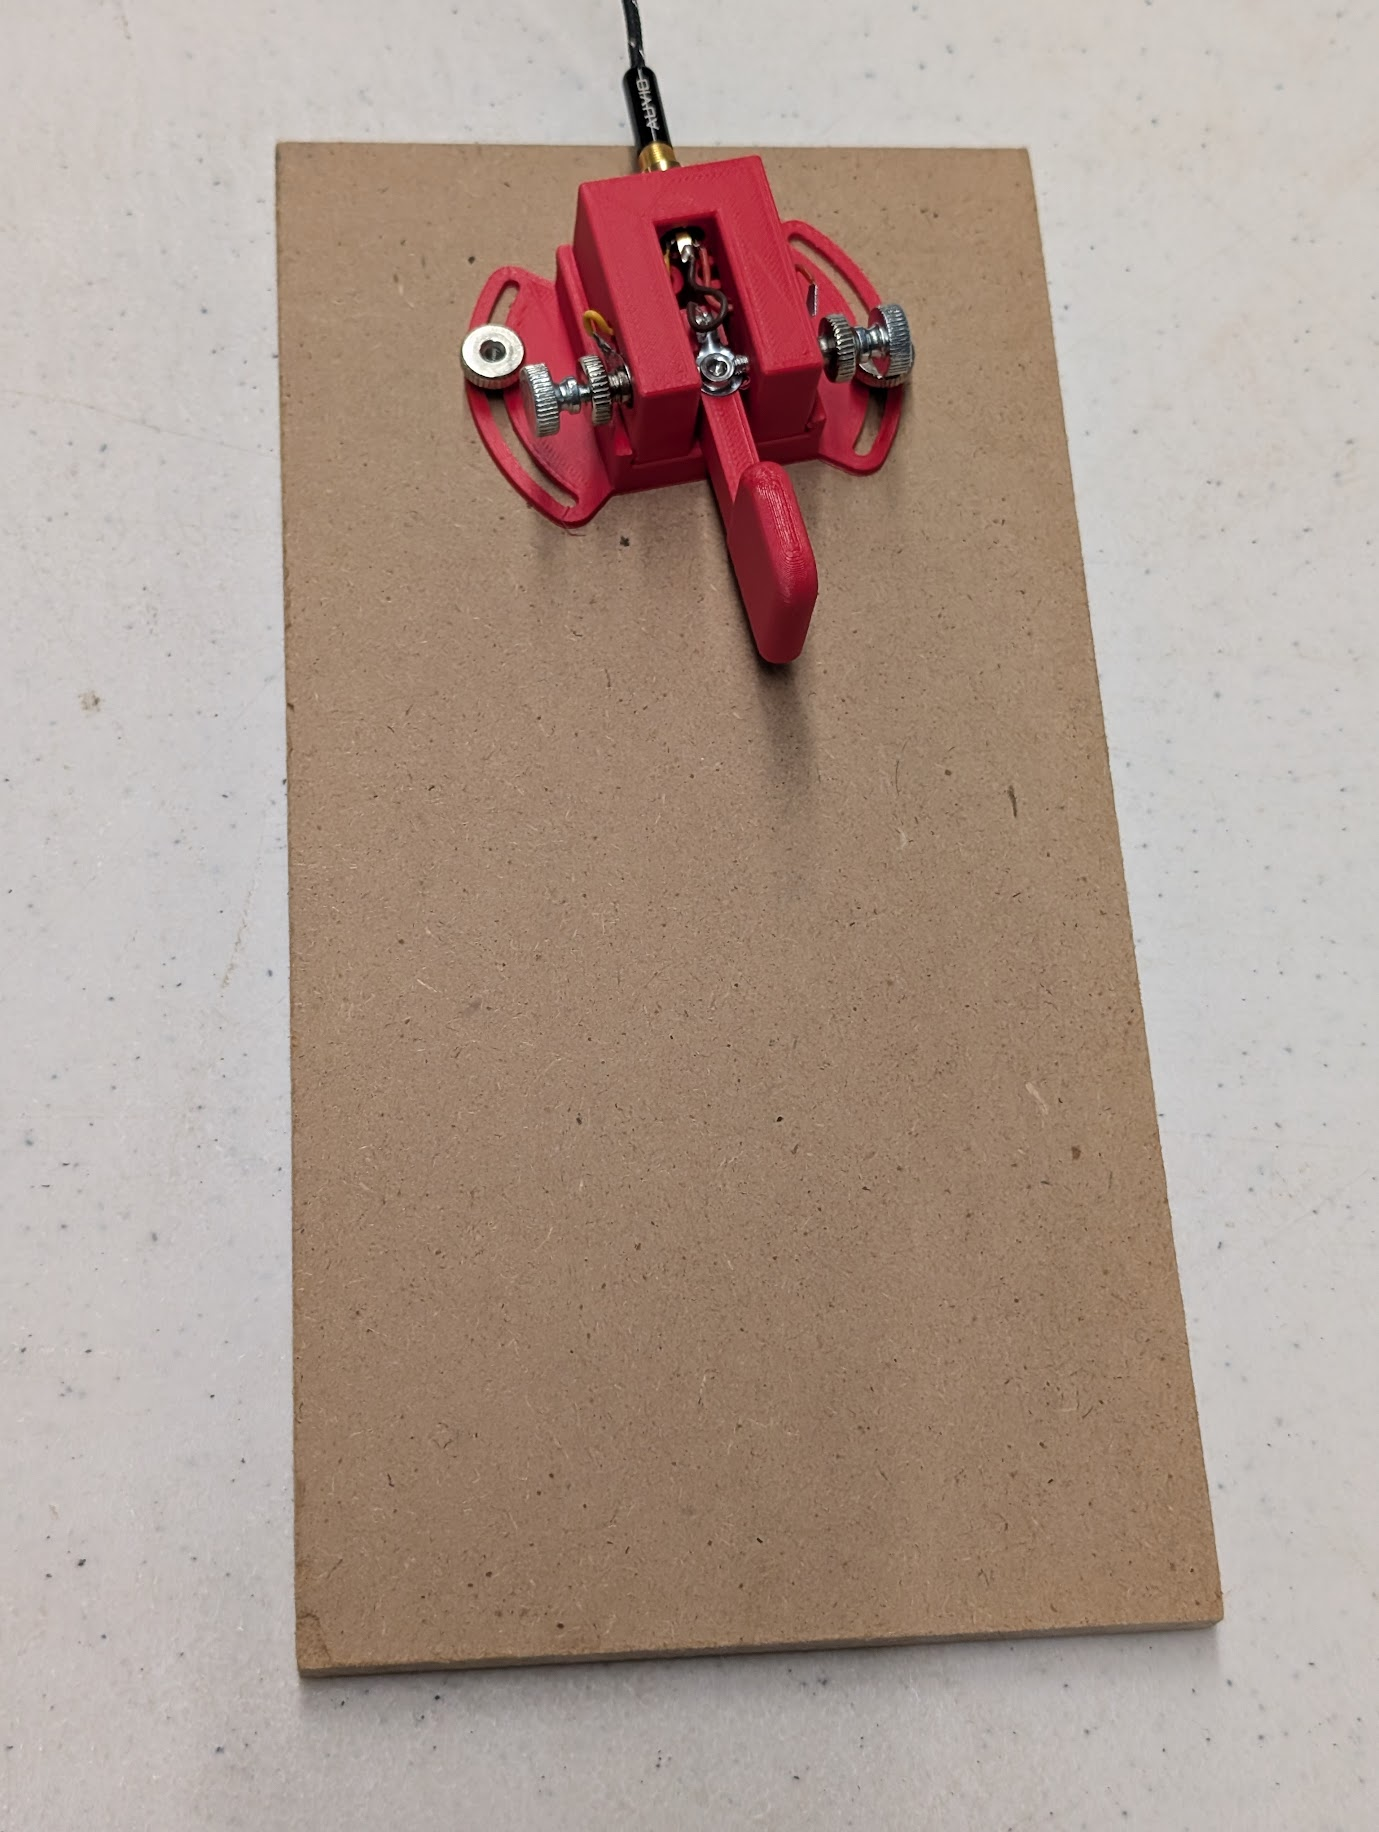
The ones I printed were ABS. One club member printed in PLA, and another in PETG, so it looks like this design can work well across multiple types of filament. One club member screwed down what I had meant as a belt swivel mount to a board that you rest your wrist/forearm on and it's a very clever addition! Picture attached.
I would like lots of detailed feedback! If you are interested in a single-paddle morse key, it doesn't matter whether you want a very light or extremely stiff spring or anything in between, this design can meet your needs. It's not expensive. You may be able to use random hardware lying around the house, especially if you have spare parts for 3d printers, but I also have links in the documentation for various hardware you can use with it.
Lots of options and possibilities, and if you need help, please don't hesitate to speak up!